Showing posts with label notebook. Show all posts

Wednesday, 20 January 2021

Notebook Covers

Hello everyone and welcome.  

I hope you all had a great start to the new year.

It's been so long since I posted anything here.  I started writing this last year and thought it was about time that I got it finished!  LOL!!   

So, here I am to share a couple of notebook covers I created as Christmas presents.  These were a last minute idea and I used them as stocking fillers.

 The papers I used are all digitals by Vectoria Designs on Etsy.  The dragon papers are from the Dragon Journal Kit and the floral papers are from the Vintage Flowers Journal Kit.  I was going to post these books separately but, as they are very much the same, I decided to show them together instead so you will find the Dragon book on the left side and the Florals book on the right.  Simply click on the picture to get a larger view.  Having said that, I won't be doing my posts this way again.  With the new Blogger set-up, it was a total pain to edit.  Had to keep jumping back and forth from draft to preview just to get it looking right.  It was a nightmare.  If anyone knows of an easy way to do it like this, please share.  I did not enjoy the experience.


 The design is also by Vectoria Designs.  There is a tutorial on their YouTube channel HERE


 I did change the design up a bit by covering the spine with fabric.   The papers on the cover of both books are edged with rose gold foil.


I loved that this design has a pen holder on the inside front cover.


As well as the pen holder, there is also an envelope inside the cover.  Mine is a deconstructed envelope ..

 
 .. which is held closed with magnets and will come in handy for holding small tickets and/or notes, etc.


I've hidden the magnets under the seals.


There are two removable signatures in this book.  The first is a plain notebook containing lined pages.


  These papers are also digitals, this time from ArtyMaze.  They are from the Floral Collage Kit. 


The second signature is a small junk journal. 


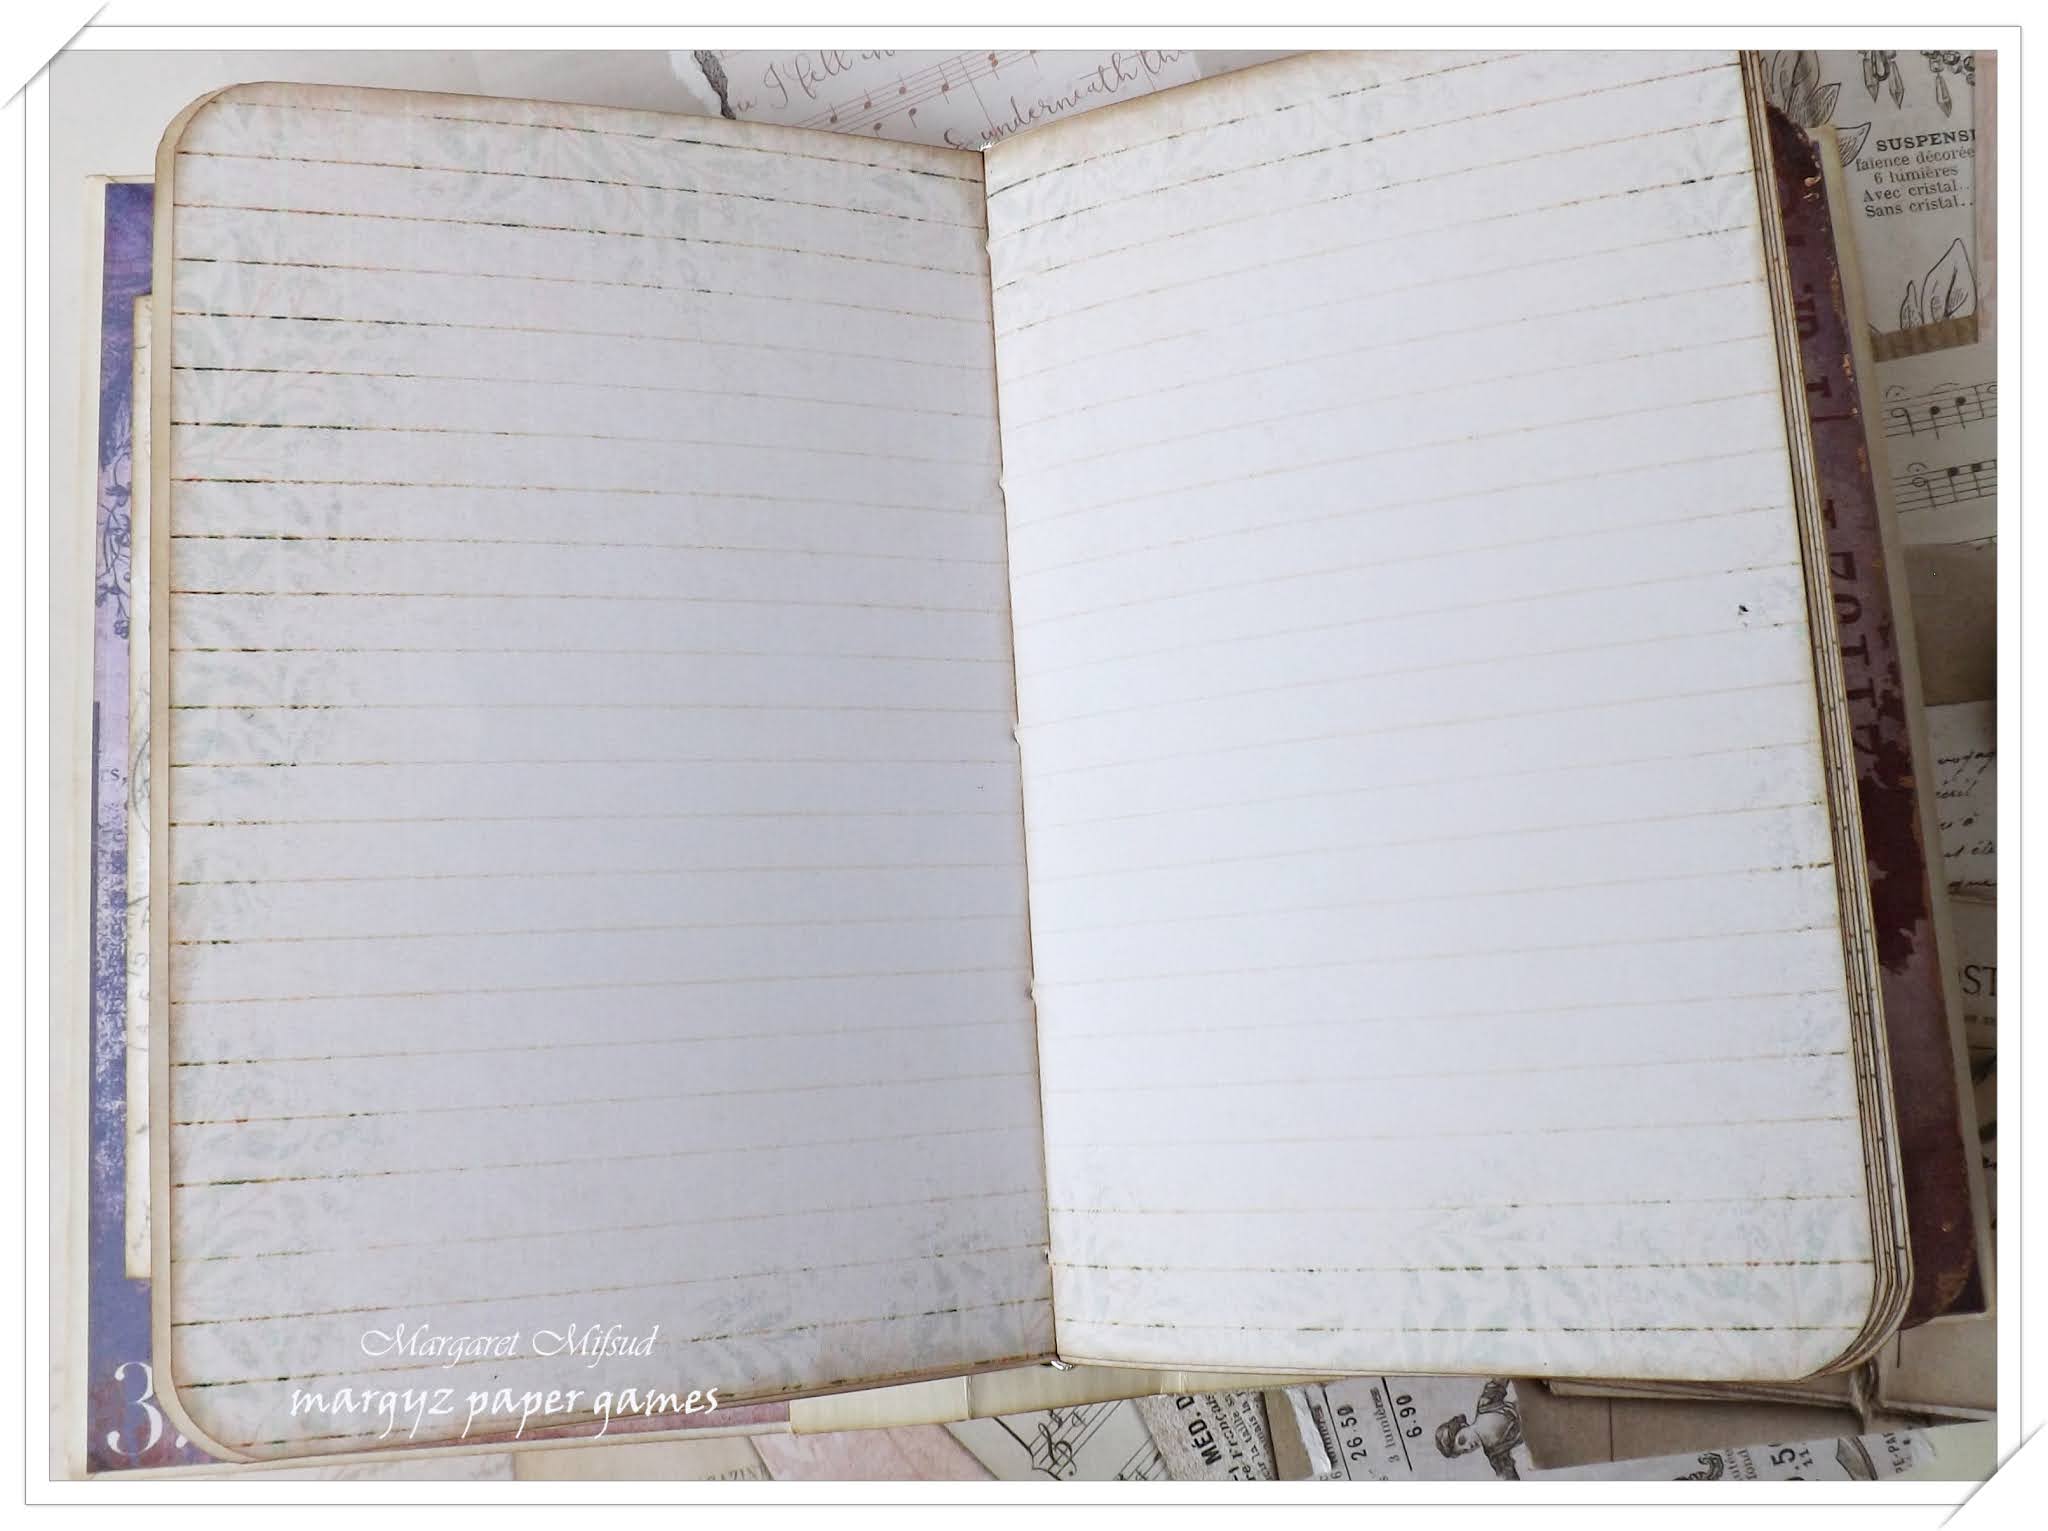
It can still be used as a notebook but, with the different sized and coloured papers, it is visually more stimulating.


I won't show all of the pages in these junk journals, this post is long enough already.  I'll just show the odd one or two .. or three.  LOL!!

This page has an envelope attached to it with a paperclip.


Here is a journaling card also attached with a paperclip.


The journaling card on the right is attached with washi tape and can be lifted for some secret writing underneath.  You can see the flap of the envelope on the left.


There is a little bit of stencilling done throughout both books for some more visual interest.


As stated before, there are different coloured and different sized papers in this part of the journal.


I have used a mix of plain papers, tea stained papers, designer papers and scraps I had in my stash. 


I simply mixed them up until I was happy with the look of them.


There is a diagonal pocket on the inside back cove wich will come in handy to store loose papers, etc.


This pocket was also edged with rosegold foil.


The back covers were also edged with rose gold foil.


I hope you enjoyed seeing my little books.  I'm certainly pleased I finally finished this post.  Hopefully, my next one won't take so long to do. 


Thank you so much for your visit and any little comment you may care to leave. I must apologise for not visiting much lately and I do hope to be a bettter blog visitor from now on.  In the meantime, please take care and stay safe.  
God Bless.

Monday, 9 March 2020

Crafty Cardmakers Challenge #252 - Green

Hello dear visitors and welcome to my blog.
A special welcome to my new followers.  Thank you so much for joining me.

Another Challenge is starting at Crafty Cardmakers.  Chanya is our host and, in celebration of St. Patrick's Day, the Theme is Green!  As always, you may create whatever you wish and, although your project does not have to be for St. Patrick's Day, it must follow the green Theme.

For my project, I have created a Notebook Holder or Folder .. not sure what to call it.
 I found the basic design for this Folder on a You Tube Channel called Burlap and Daily Bread run by a lady named Kristi.  She has a set of three videos that she calls a Folder Journal Kit.  On these videos she shows the kits and explains how to create the Folder.  I simply took the basic Folder design and adapted it to suit my needs.   I will share the link to the videos at the end of my post.
The papers I used are from the Memory Lane 12 x 12 paper pad by Kaisercraft.  I had some scraps left over from another booklet (here) and simply layered them to cover the front and back of this folder.  Saved me cutting up whole sheets and being left with more scraps.  Trying to be more frugal with my papers so there is less waste.
  I inked all the edges with Ground Espresso Distress Ink and, to embellish the front, I added a piece of gauze and a die cut flourish by Altenew.  The flower is by Little Birdie and the quote tag is from the same Kaisercraft paper collection.

This notebook will be used to record any info I may need for different crafting projects.  It will come in handy when I'm away from home crafting with friends.
On the inside front cover there is a pocket in which I have placed a few useful items.

A small note pad to record the things I need to get and take with me.
I simply cut a few pages to size and stapled them together.
A pocket folder to hold die cuts, chippies and other small and delicate items.

For our next craft session, I have included a sheet of paper which has a template of this particular Notebook holder.  I will need that as my friend also wishes to make one of these Folders.
If anyone is interested, please feel free to use this.  Solid lines are cut lines and broken lines are fold lines.  I might actually do a step by step on this booklet but, if you watch the video, you will see how easily it's constructed.
 On the inside back cover is another pocket.
Popped a few tags and bits of ephemera in this pocket.
To hold the notebook I simply tied a piece of clear elastic around the folder.  This way it is super easy to replace the notebook once it's full.
 Here is the cover with the notebook removed.
The back cover was left plain (makes it easier for writing as there is no bulk at the back) and I used seam binding for the closure.
A very simple little booklet but, I think it will be very useful and, it's a little prettier than just a plain old note pad.

Do pop on over to the CCM blog and check out the fabulous creations by the rest of the Team.  Would love to have you join in.

Crafty Cardmakers Challenge #252 - Green

Thank you so much for stopping by.  I hope you enjoyed seeing my project and I hope you will also pop over and take a look at Kristi's Channel.  Here is the link to the first video for this particular booklet but she also has a lot of other videos and projects to enjoy.

Have a wonderful day!
Take care and God Bless.
oxox Marg