Showing posts with label frame. Show all posts

Monday, 17 February 2014

Center Step

Hello everyone and welcome to my bloggy space!! Lovely to have you here.
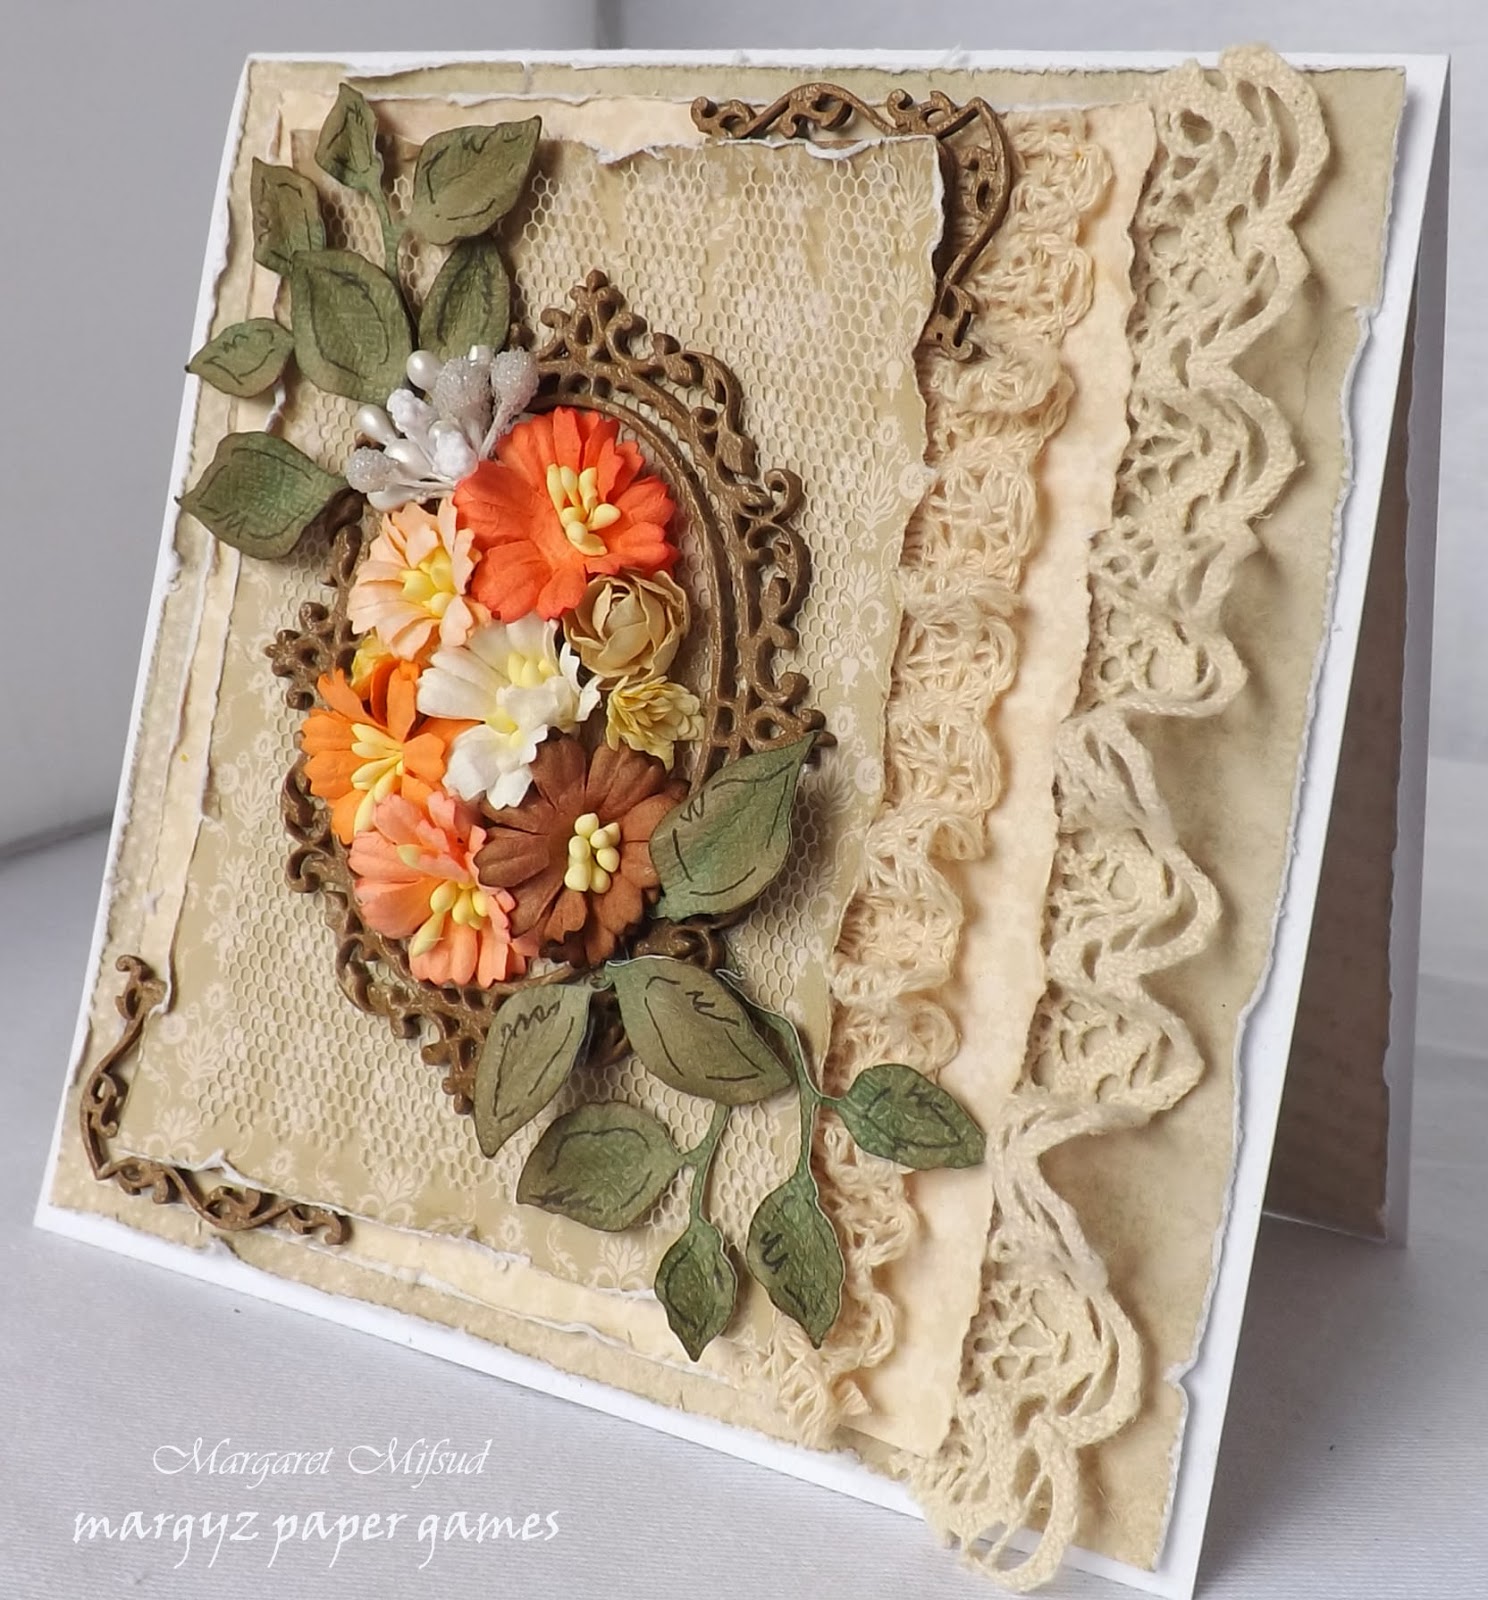
I'm back to share another card with you and it is another center step card, a feminine one this time.  I still have a lot of masculine cards I need to make but keep getting side-tracked.  It's the flowers, they distract me every time.  LOL!

The papers I've used this time are from Prima's Sunrise Sunset Mini Pack.  All edges are distressed and inked with Walnut Stain Distress Ink.  I've layered some netting in between the papers and added a little gauze in one corner and a die cut as well.  The Die is the Honey Blossom Sprig Die  by Memory Box.  I think the paper I've used for the die-cut is actually from Kaisercraft.

 Did some lacing on the side panels by simply punching the holes and then using embroidery thread for the stitching.  Have seen this on so many other peoples' creations, I thought I would give it a try.  Must say I quite like it.  I know Miranda Edney does this quite a lot and I've also seen it on Heather Jacob's  work.
 The flower cluster is made up of some daisy type flowers from Seriously Scrapbooking ( I don't know the Manufacturer ) a small rose from Kaisercraft and a small spray from Ribtex.  There's also some gauze and die cuts as well.  The dark brown branch was actually cut with my Silhouette and the fern is a Joy Craft Die. 
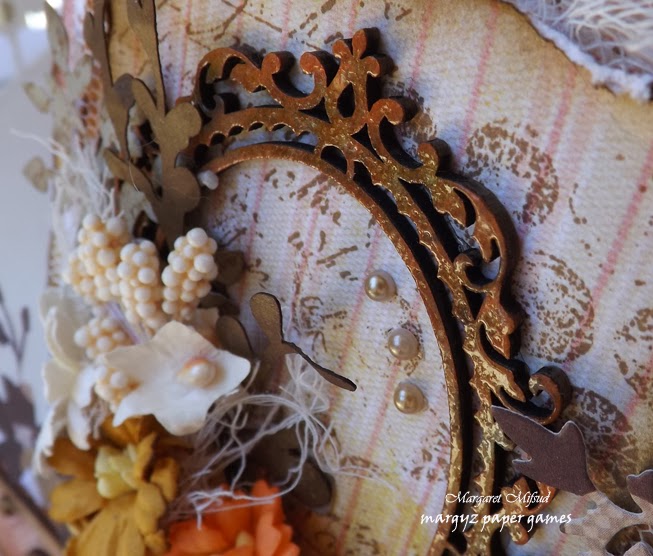
The chipboard frame is from Little Birdie which I've coloured with Brown and Olive Versa Color and then coated in clear embossing powder.
The wooden flourish is from Kaisercraft. I've left it raw and just inked the edges with Walnut Stain Distress Ink. 
 Attached the usual strip of border punched paper on the inside.  The border punch used is Martha Stewart's Doily Lace Die.
As those of you who have visited here before probably realize, I quite enjoy making these Center Step cards.  They are a little more involved than the normal type of card because of the number of panels that need to be decorated.  It's not just the one surface, and I find it keeps the creative juices flowing and the brain working just a little harder to get it all to blend together.  Love it!!

That's all for today good people.  I do thank you so much for coming and hope you've enjoyed the visit.  
Take care and God Bless.
oxox Marg


Tuesday, 17 December 2013

Flowers and Twine!

Hello everyone!!!  Welcome to my blog!
I hope everyone's Christmas Preparations are going well.  Luckily for me, mine are done so I can relax for a few days and create something for an occasion other than Christmas.
The card I'm sharing with you today could be used for a Wedding.  It was made from the gorgeous Pion Design papers that I won just recently!

 As you can see, not a lot of colour to this one.  I think after all the Christmas cards I made I am coloured out!!  hehe!  There is actually a very subtle pattern on the top layer of paper but, unfortunately, the photos don't show it very well.  You can see it a little better in the next one but you really have to look closely.
 The papers were distressed and then I misted the top layer and manipulated it a bit to get it to the shape you can see and I also made a few tears which were then rolled as well.  The idea for this came from Patricia Basson.  She makes the most beautiful scrapbook pages where she rolls and manipulates her papers in the most beautiful ways.  I love her work and urge you to go and take a look.  You can find her blog HERE
The cluster is made up of a selection of flowers but I'm afraid I can't tell you where they came from as I've had these for a while.  I've mixed some tiny pearl stamens and some gauze in there too.   The two clusters are almost a mirror image of each other.  The strip across the centre of the card is simply another strip of the same paper over which I've added a strip of gauze and a twine bow.
 The inside was decorated with another sheet of  the Pion papers.  I fussy cut the lovely little frame which can be used for the sentiment and then just border punched a couple of strips from the same sheet and adhered them top and bottom.
 I have to say, I'm really pleased with the way this one turned out!!  I think I'm going to be sorry to give this one away!!  Ah well!!!  What must be done, must be done!
I want to thank Pion Design again for their wonderful Give-away.  These papers are absolutely stunning and I'm loving working with them.  Thank you!!

I'd also like to thank you lovely people for visiting here today.  This is a really busy time of the year and I know how hard it can be to find the time.  So, thank you so much!!  I appreciate it immensely!!

Please take special care over the holiday period.  Be safe and  God Bless.
oxox Marg


Thursday, 17 October 2013

Netting and Lace Ribbon

Hello everyone, I hope you are all having a fabulous day.  We have gorgeous sunshine in Adelaide after a night of wild winds and rain.  The weatherman just cannot make up his mind as to whether it's summer or winter.   He keeps flicking the switch every few minutes it seems.  Crazy!!
So, I am back to share another card.   Surprise!! Surprise!!  hehe!
This one has some netting incorporated into it and some gorgeous lace ribbon too.

I have seen the netting used in other peoples projects and really loved the look of it so decided to use it myself.  It adds a bit of softness to the card I think and I love that look.  To see where I got the inspiration from check out Dorota's Blog HERE  and Klaudia's blog HERE.  They both make the most beautiful cards.
 The papers I've used are Kaisercraft's On This DAy and I've distressed them quite heavily.  The lace is from my stash and I've glued it on with my heat gun, gathering it up a bit in the process.   The chipboard frames are from Little Birdie and I've actually used two different styles here ... an oval and a square frame.  The oval was used as is and the corner pieces were cut from the square frame.  I painted them with a mix of White and Mud Puddle Acrylic Paint and then coated them with Clear Rock Candy Distress Crackle Paint.  As they are such small pieces the cracks are not huge, as you can see, but they do give them a bit of texture.
 The main flowers are a little daisy spray purchased from Seriously Scrapbooking.  I really loved the colour mix and thought they would help to brighten the card up a bit.  The small rose is from Kaisercraft and the white spray and other little flowers are from my stash.  The leaves are my staple which I've cut with my Silhouette Portrait and then inked and doodled.  The doodling idea came from the amazing Heather Jacob, you can find her blog HERE.


 Lined the inside with some paper from my stash and a strip of the KC On This DAy paper on the side.

 And there it is!!  
I just want to say how grateful I am that there are so many of you talented people out there willing to share your art and give inspiration to others.  I love looking at other people's work and I get such a lot of my ideas from them.  Thank you all so much for your generosity.  I do hope that, along the way, I've inspired a few of you too.
Thank you so much for visiting and, perhaps, leaving me a little comment.  I read each and every one and love them all!
I am hoping too that, very soon, I'll be able to share some wonderful news with you all!!

Take care and God Bless.
oxox Marg
 

Friday, 16 November 2012

Anniversary Card

Hi everybody! My oldest son and his wife just celebrated their 19th Wedding Anniversary and I thought I'd show you the card I made for them.

A few years ago I spotted a card on someone's blog (can't remember whose) which I really loved. It was an easel card done in black and peach and it was gorgeous so I saved the image but hadn't got around to using it as an inspiration until  now.
Here is my card.
 Unfortunately I didn't have much in the way of peach coloured stuff in my stash but made do with what I did have. 
 

The papers I used are from Prima's Rondelle collection (love those) but  the one I used for the front was just black with a few floral images in the corners and it was a bit flat so I stamped it with a Kaisercraft script stamp using VersaMagic Cloud White.  Luckily it turned out exactly how I wanted it - uneven and patchy.

The flowers are from my stash.  The small cream one is from Prima the two pink ones are Kaisercraft but I can't remember where I got the large one. It could also be a Prima but I'm not sure.


The little Imaginarium frame was painted with Adirondack's Dabber in Pitch Black and then sprayed with a little Pearl Glimmer Mist.  I've backed it with a small doily which was cut out with the Die-namics Decorative Doily Duo Die.  ( Try saying that 5 times really fast. lol )

 These little flowers are all Kaisercraft, the doily is the same as on the front of the card and the little branches were punched out with a Martha Stewart punch.

And here is the inside.  I wrote our greeting on the journalling card.

 Here is the original card.
 
My version is not exactly the same as the original but then it was never meant to be a perfect copy.  I'm pleased with the way my card turned out and I am very grateful for having the original design to get me inspired.
Thank you so much for visiting.  Take care and God Bless.
xoxo Marg