Hello dear visitors and welcome to my blog.
A special welcome to my new followers. Thank you so much for joining me.
A special welcome to my new followers. Thank you so much for joining me.
Another Challenge is starting at Crafty Cardmakers. Chanya is our host and, in celebration of St. Patrick's Day, the Theme is Green! As always, you may create whatever you wish and, although your project does not have to be for St. Patrick's Day, it must follow the green Theme.
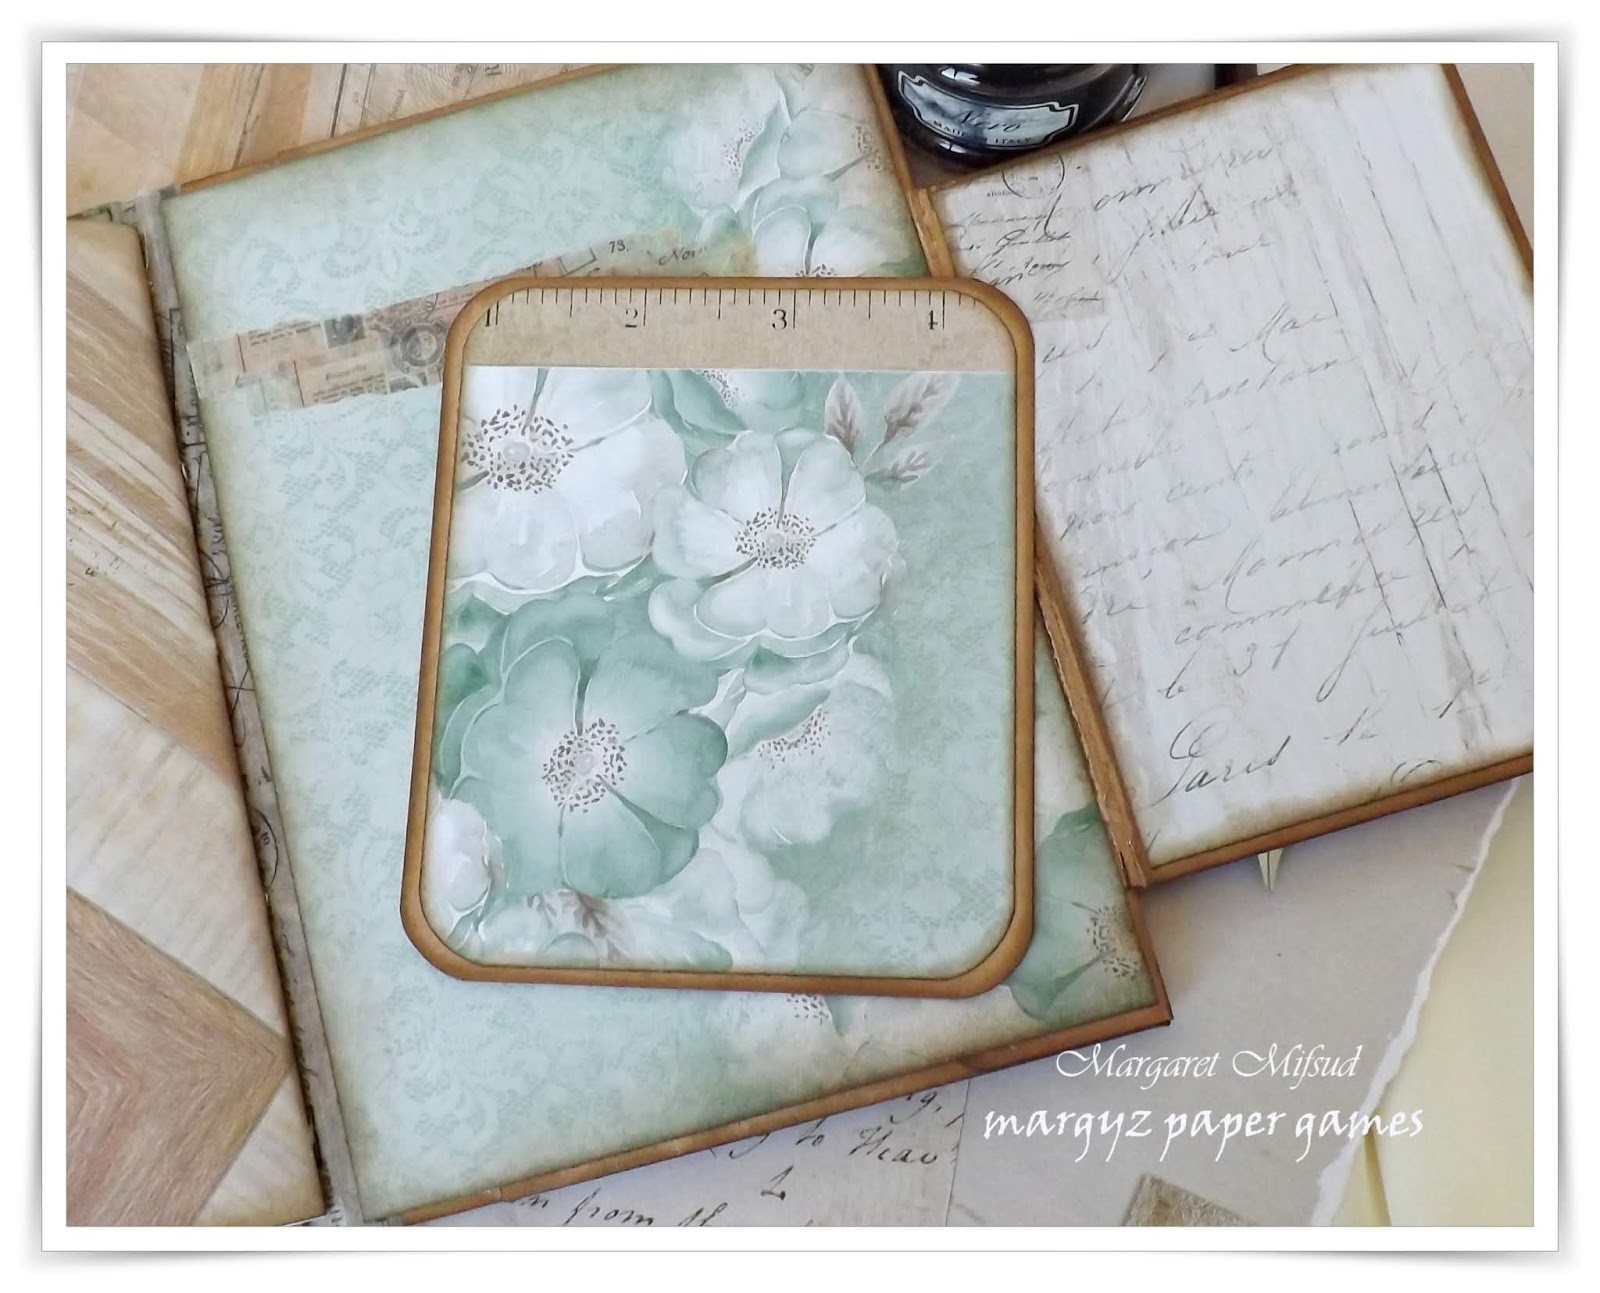
For my project, I have created a Notebook Holder or Folder .. not sure what to call it.
I found the basic design for this Folder on a You Tube Channel called Burlap and Daily Bread run by a lady named Kristi. She has a set of three videos that she calls a Folder Journal Kit. On these videos she shows the kits and explains how to create the Folder. I simply took the basic Folder design and adapted it to suit my needs. I will share the link to the videos at the end of my post.

The papers I used are from the Memory Lane 12 x 12 paper pad by Kaisercraft. I had some scraps left over from another booklet (here) and simply layered them to cover the front and back of this folder. Saved me cutting up whole sheets and being left with more scraps. Trying to be more frugal with my papers so there is less waste.

I inked all the edges with Ground Espresso Distress Ink and, to embellish the front, I added a piece of gauze and a die cut flourish by Altenew. The flower is by Little Birdie and the quote tag is from the same Kaisercraft paper collection.


This notebook will be used to record any info I may need for different crafting projects. It will come in handy when I'm away from home crafting with friends.
On the inside front cover there is a pocket in which I have placed a few useful items.
On the inside front cover there is a pocket in which I have placed a few useful items.


A small note pad to record the things I need to get and take with me.

I simply cut a few pages to size and stapled them together.

A pocket folder to hold die cuts, chippies and other small and delicate items.


For our next craft session, I have included a sheet of paper which has a template of this particular Notebook holder. I will need that as my friend also wishes to make one of these Folders.
If anyone is interested, please feel free to use this. Solid lines are cut lines and broken lines are fold lines. I might actually do a step by step on this booklet but, if you watch the video, you will see how easily it's constructed.
 On the inside back cover is another pocket.
If anyone is interested, please feel free to use this. Solid lines are cut lines and broken lines are fold lines. I might actually do a step by step on this booklet but, if you watch the video, you will see how easily it's constructed.


Popped a few tags and bits of ephemera in this pocket.

To hold the notebook I simply tied a piece of clear elastic around the folder. This way it is super easy to replace the notebook once it's full.

Here is the cover with the notebook removed.
 The back cover was left plain (makes it easier for writing as there is no bulk at the back) and I used seam binding for the closure.


Do pop on over to the CCM blog and check out the fabulous creations by the rest of the Team. Would love to have you join in.
Crafty Cardmakers Challenge #252 - Green
Thank you so much for stopping by. I hope you enjoyed seeing my project and I hope you will also pop over and take a look at Kristi's Channel. Here is the link to the first video for this particular booklet but she also has a lot of other videos and projects to enjoy.
Have a wonderful day!
Take care and God Bless.
oxox Marg