
My friend is not really into fussy, frilly things, so I have made this fairly clean and simple. I have done a bit of stamping and used my favourite stencil (extensively LOL!) but there is not a lot of embellishment apart from the chippies of course.
Did some stenciling with Distress Ink and texture paste on the front cover and embellished it with the stunning Ingrid's Frame. This is an absolutely gorgeous piece that I really wanted to keep to use on something for myself but it fitted so beautifully on the cover that I just have to let it go. (Drat!!)

The frame was coloured with brown acrylic paint and then lightly swiped with Versa Color Polar Blue and Sage. I then covered the whole piece with Glossy Accents. I added the little flower spray for a touch of colour.

This journal is an Accordion Book. I found this design on a post by Kimi Blundell at 'Unique Scrappiness'. She also has a fabulous step by step tutorial on how to construct it. If you wish to take a look HERE is the link.
The book is held closed with some magnets and this is how it opens.


The inside front cover has a little pocket into which I have placed a couple of little booklets.

The front piece of the 'accordion' has some tags on top of which I've placed the cute little chain of hearts which is part of the Funky Arrows set.

Coloured this piece with red nail polish (yep! red nail polish ... works a treat!) and swiped the edge with Versa Color Gold.

There are a lot of tags in this book as this is where all the positive memories will be written down so I have created belly bands and pockets to hold them all. The tags are simply cardstock on which I have glued some gorgeous 'Vintage Lady' images which are available from Meg's Garden.
Over the belly band on the first page I have placed one of the Funky Heart swirls.

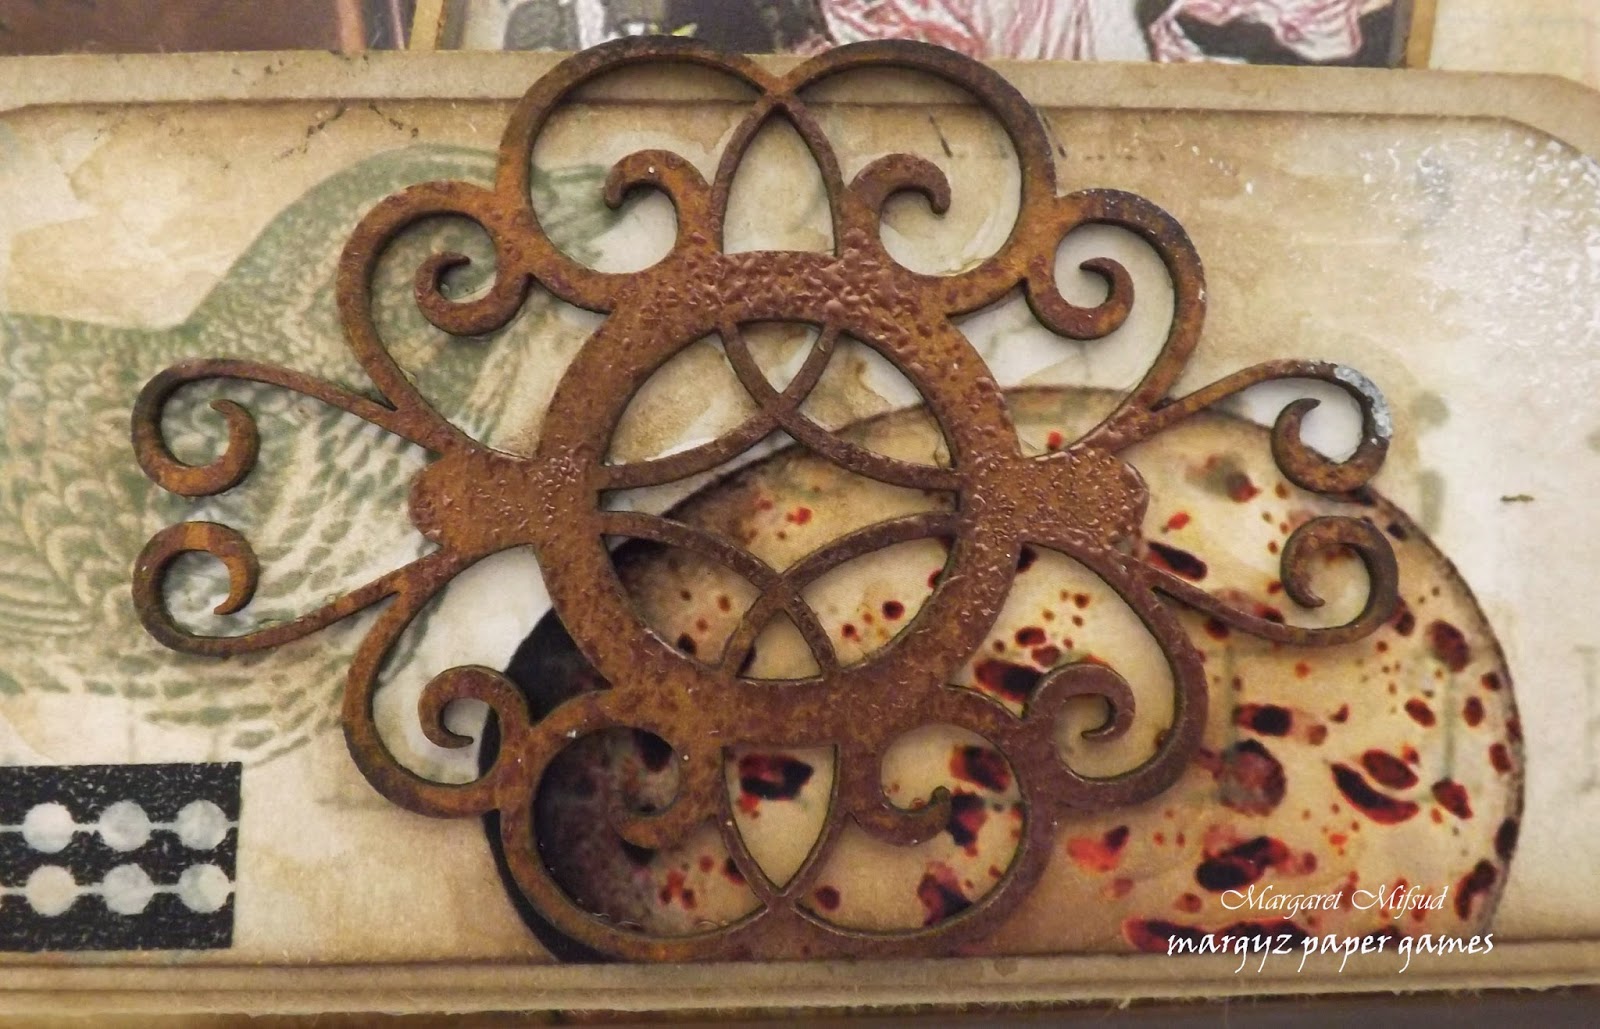
Coloured the Heart Swirl with Versa Color in two shades of green and red and then swiped the edges with a little gold. It was then clear heat embossed and dabbed with a little gesso.

The pocket on page 2 has the Ornate Buckle which was coloured with Distress Ink in Spiced Marmalade and Gathered Twigs.

It was then lightly embossed with Metallic embossing powder.
Another set of pockets on pages 4 and 5 and here I have used the ATC Masks.

I tried a little experiment here and used some coarse texture paste on this piece before colouring it. I really like how it turned out and I think I will be doing this again. To colour it, I used two shades of Versa Color blue and then used Versa Magic Midnight Black on the edges. It didn't really stand out very well from the page so I used some blue watercolour paint to create the shadows behind it but I might have gone a bit overboard with that. LOL!!


Again, I have used Distress Ink to colour this piece. I don't have a lot of paints, etc. to colour things with but I find the DI works well with almost anything and the chippies take to the colour really, really well.
I've used Fired Brick DI and then edged with Versa Color Midnight Black and lightly heat embossed the edges as well.

This page has the Heidi Vines. This is a piece left over from a previous project. I really love that these chippies can be cut into little bits and pieces and still be viable to use on so many different items.

I snuck in a little flower here simply because I can. In a book like this you can't really use embellishments that are too dimensional as it will make the book bulky and awkward, that's one reason I love using the chippies as they are nice and thin. Used Versa Color and stamped this piece and then popped some glossy accents on as well.

The final pages! The end flap is attached to the cover and made into a pocket to hold some more little booklets.

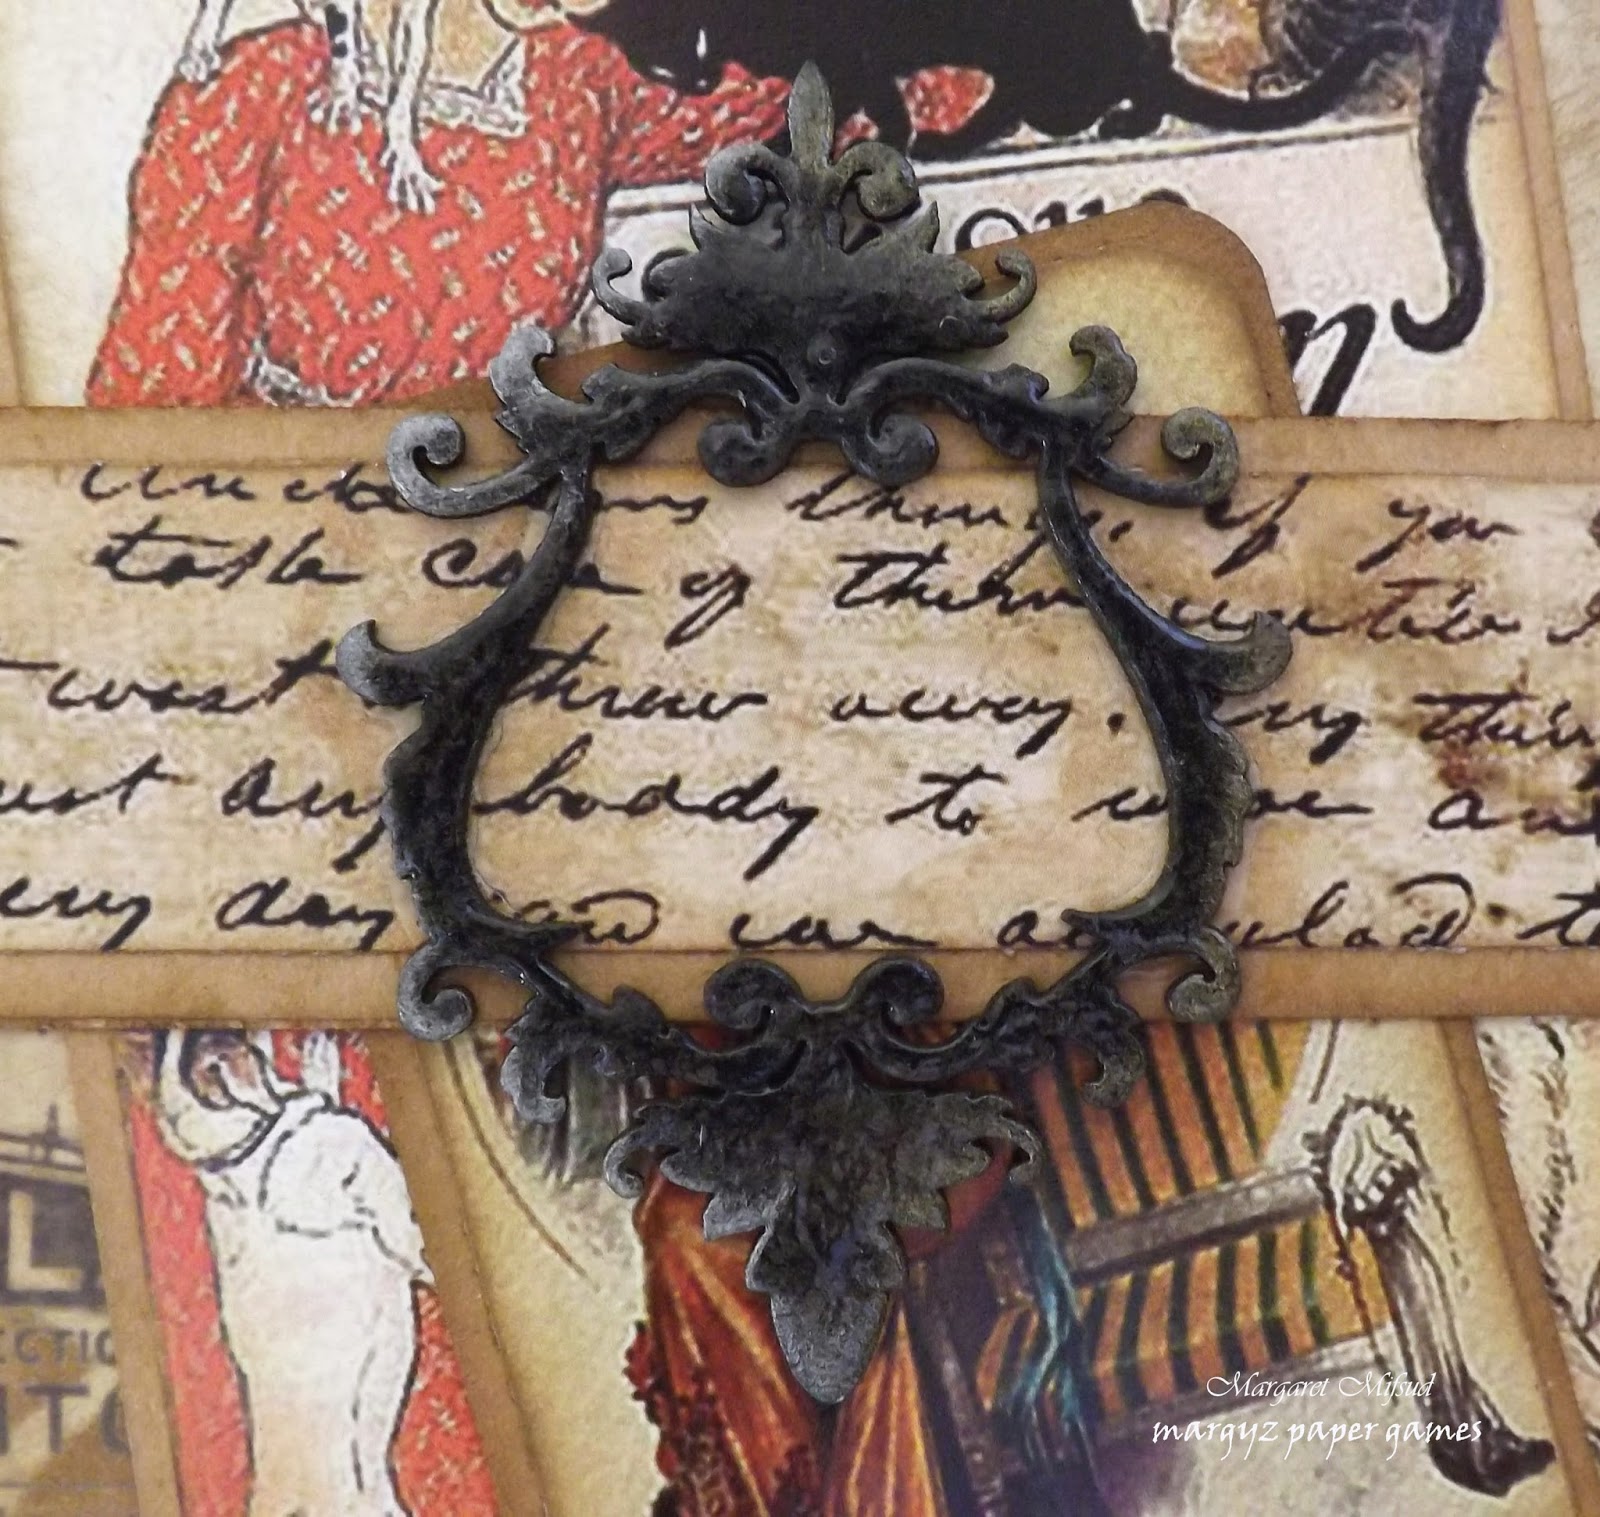
The Georgian Frame is simply coloured with Black Soot DI and edged with Versa Color Silver and Gold. It is also covered with glossy accents.

Hope ur holiday was great - this book is!!! What a wonderful gift:) loooved the Venetian mask:) and can't wait to see all the inserts:) fabulous work:):)
ReplyDeleteOMG< Margie this is yet another unbelievable fantastic project!!! Wow, wow, wow, it is totally stunning! The stencilling, stamping, papers and embellishments just blend together to perfection, I am lost for word, I LOVE this and cannot wait to see the pages underneath the tags! Thanks for the link also, I love projects like this and will definitely check it out.
ReplyDeleteThis is just amazing Margy. So much effort and such great use of all the chippie pieces. a truly beautiful project.
ReplyDeleteA gorgeous album Margaret. Your friend will love this. I like the fab details and the whole vintage look. Marlies
ReplyDeleteWhat a labour of love this is Margy! An absolute masterpiece!! Looked like it must have taken forever. You are very clever!! Is there a template somewhere online for this or did you make it up yourself. I am starting to teach classes at home next year & this would be something people would love!!
ReplyDeleteWow Marg!! This book is AMAAAAAAAZING! I love every page and every embellishment. Just gorgeous! Karen.x
ReplyDeleteThis is so beautiful Marg, I am sure your friend will LOVE it!!
ReplyDeleteWOW! Margy this is just amazing. So much work has gone into it and I really love all the chippy bits - I am sure that she will be delighted with it. Just love it.
ReplyDelete