Hello everyone and welcome to my blog. So glad you popped in for a visit.
As promised, I am here to share part three of my November reveal for 2Crafty Chipboard.
Having made a gift (The Positivity Journal from my previous two posts) I also had to make a Card as well.
2Crafty Chipboard used
Brushstroke Tree
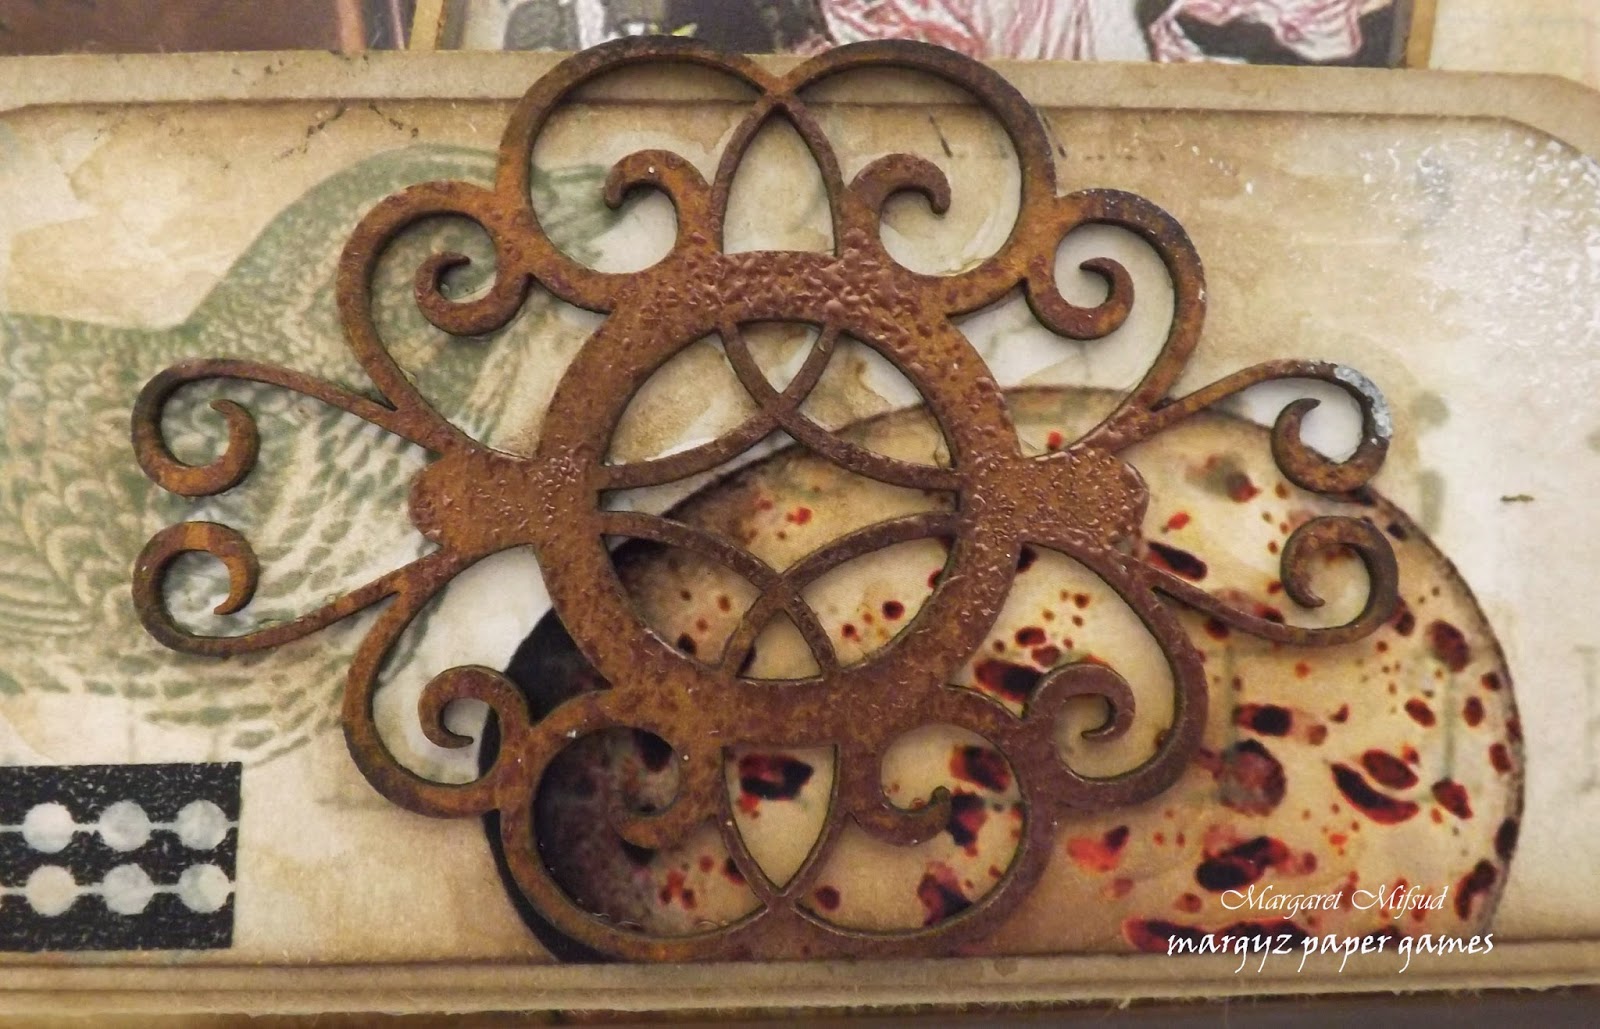
Element Set 1
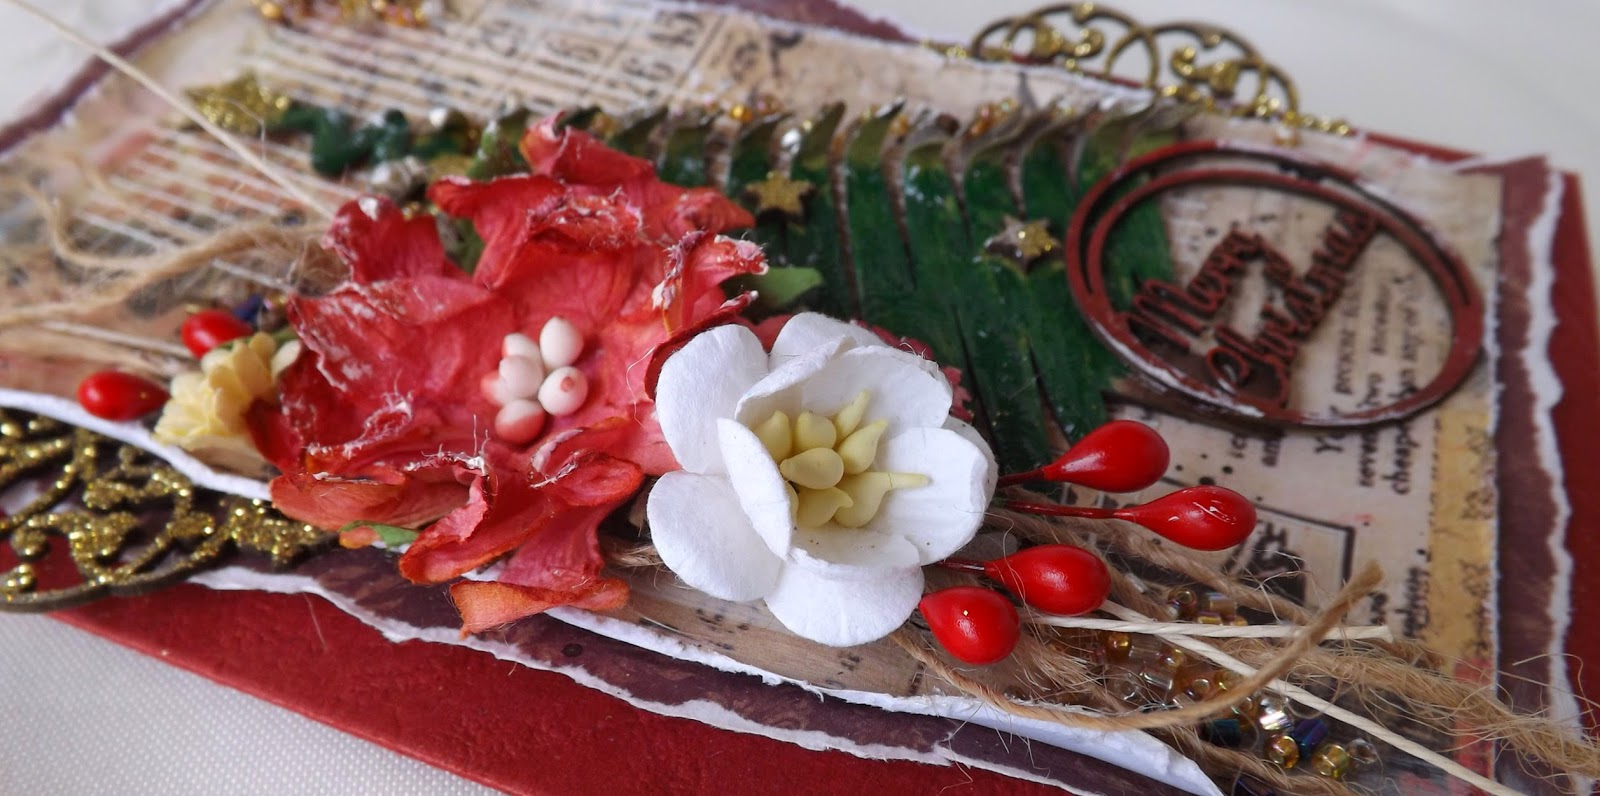
Card Word Circles Christmas
ATC Tiny Hearts and Stars
I'm afraid I am a traditionalist when it comes to Christmas. That means I mainly use green, red and gold in my cards. With this card though, I have gone a little outside my usual 'square' and used a sheet from Prima's Romance Novel Collection instead of actual Christmas paper.
I also indulged myself a little and went a bit grungy!

I added some dry wall tape and some tiny beads to the base of the card. Some twine and some more beads were also added to the cluster. Both the large red flower and the smaller white one are available from Meg's Garden.

The Card Word Circle was coloured with red nail polish to start off with but, as it was a little too dark, I went over it with Versa Color Scarlet and a little gold. The Element Set 1 comes as 3 pieces. I cut one of the smaller ones in half, glittered it with gold, and then inserted it between the paper layers.

The Brushstroke Tree was coloured firstly with Crushed Olive Distress Ink and then with green acrylic paint. It was then coated in Crackle Accents. The cracks are only small but they look quite effective. The Tiny Stars were simply covered in gold glitter and glued to the tree.

I tried a little experiment with the tree. I wet the ends of the branches and split the layers a little. Once it was dry, I added some glue and sprinkled some tiny beads over it. Not sure if I like the result. I was hoping it might look a little like candles but don't think it really worked out. What do you think?? Apart from my little experiment, I do love how the tree looks!

This is the inside of the card. Here I have again used the Romance Novel papers. The border was punched with Martha Stewart's 'Floral Vine Deep Edge' punch.

Just a closie of the quote stamp. I have left the right side mainly blank so I can write the sentiment.

Once the card was finished, I brushed it randomly with some gesso.
I do hope that you like my card and also the Journal I shared in my previous two posts and I also hope you have been inspired to try 2Crafty Chipboard for your own creations.
To take a look at the awesome projects created by the other members of the Team. You can find the link to the blog HERE.
And remember, to find a 2Crafty stockist near you, send an email to
salesat2crafty@optusnet.com.au
Thank you so much for visiting and do enjoy the rest of your day.
Take care and God Bless.

I added some dry wall tape and some tiny beads to the base of the card. Some twine and some more beads were also added to the cluster. Both the large red flower and the smaller white one are available from Meg's Garden.
The Card Word Circle was coloured with red nail polish to start off with but, as it was a little too dark, I went over it with Versa Color Scarlet and a little gold. The Element Set 1 comes as 3 pieces. I cut one of the smaller ones in half, glittered it with gold, and then inserted it between the paper layers.
The Brushstroke Tree was coloured firstly with Crushed Olive Distress Ink and then with green acrylic paint. It was then coated in Crackle Accents. The cracks are only small but they look quite effective. The Tiny Stars were simply covered in gold glitter and glued to the tree.
I tried a little experiment with the tree. I wet the ends of the branches and split the layers a little. Once it was dry, I added some glue and sprinkled some tiny beads over it. Not sure if I like the result. I was hoping it might look a little like candles but don't think it really worked out. What do you think?? Apart from my little experiment, I do love how the tree looks!
Just a closie of the quote stamp. I have left the right side mainly blank so I can write the sentiment.
Once the card was finished, I brushed it randomly with some gesso.