Hello everyone and welcome to my blog.
So pleased that you decided to pay me a visit.
So, here I am to share something I have been working on for a while now .. My first Junk Journal.
Actually, I have two of them on the go at the moment. The one I'm showing today is fairly simple. The other one I'm working on is more on the shabby side and will have some photos in it but I am nowhere near to showing that one yet.
I do love making books and I started this particular one a long, long time ago!! Months ago in fact!! Yes, I know!! Why is it taking such a long time?? I can't even remember exactly when I started it. I do know I made the cover before I was lucky enough to win Eileen Hull's Journal Die from Anne Redfern so this cover was made late last year!!!
When I first made this journal it was quite basic. I had some leftover papers from a couple of A4 Prima pads that had been sitting in my stash for ages and decided to use them up. So, I made the cover from cardstock and then 4 signatures from the papers. I sewed the signatures to the spine and then the whole thing was left on a shelf until about a month ago. When I picked it up again, I was not happy with it, so I actually took it apart and made a heap of changes. Now, because of all the additions, it will only have two signatures so I have another two with which I can make another book!! Win! Win!
In this post I will show you the cover and the first signature. I should warn you though, there are a lot of photos.
This is the original cover I created. I was quite happy with it so didn't change it at all.
 The papers are quite busy so I simply did a little stenciling and collage work on the front cover using strips of the papers, some pretty lace and a flower by Little Birdie which was altered with watered down acrylic paint.
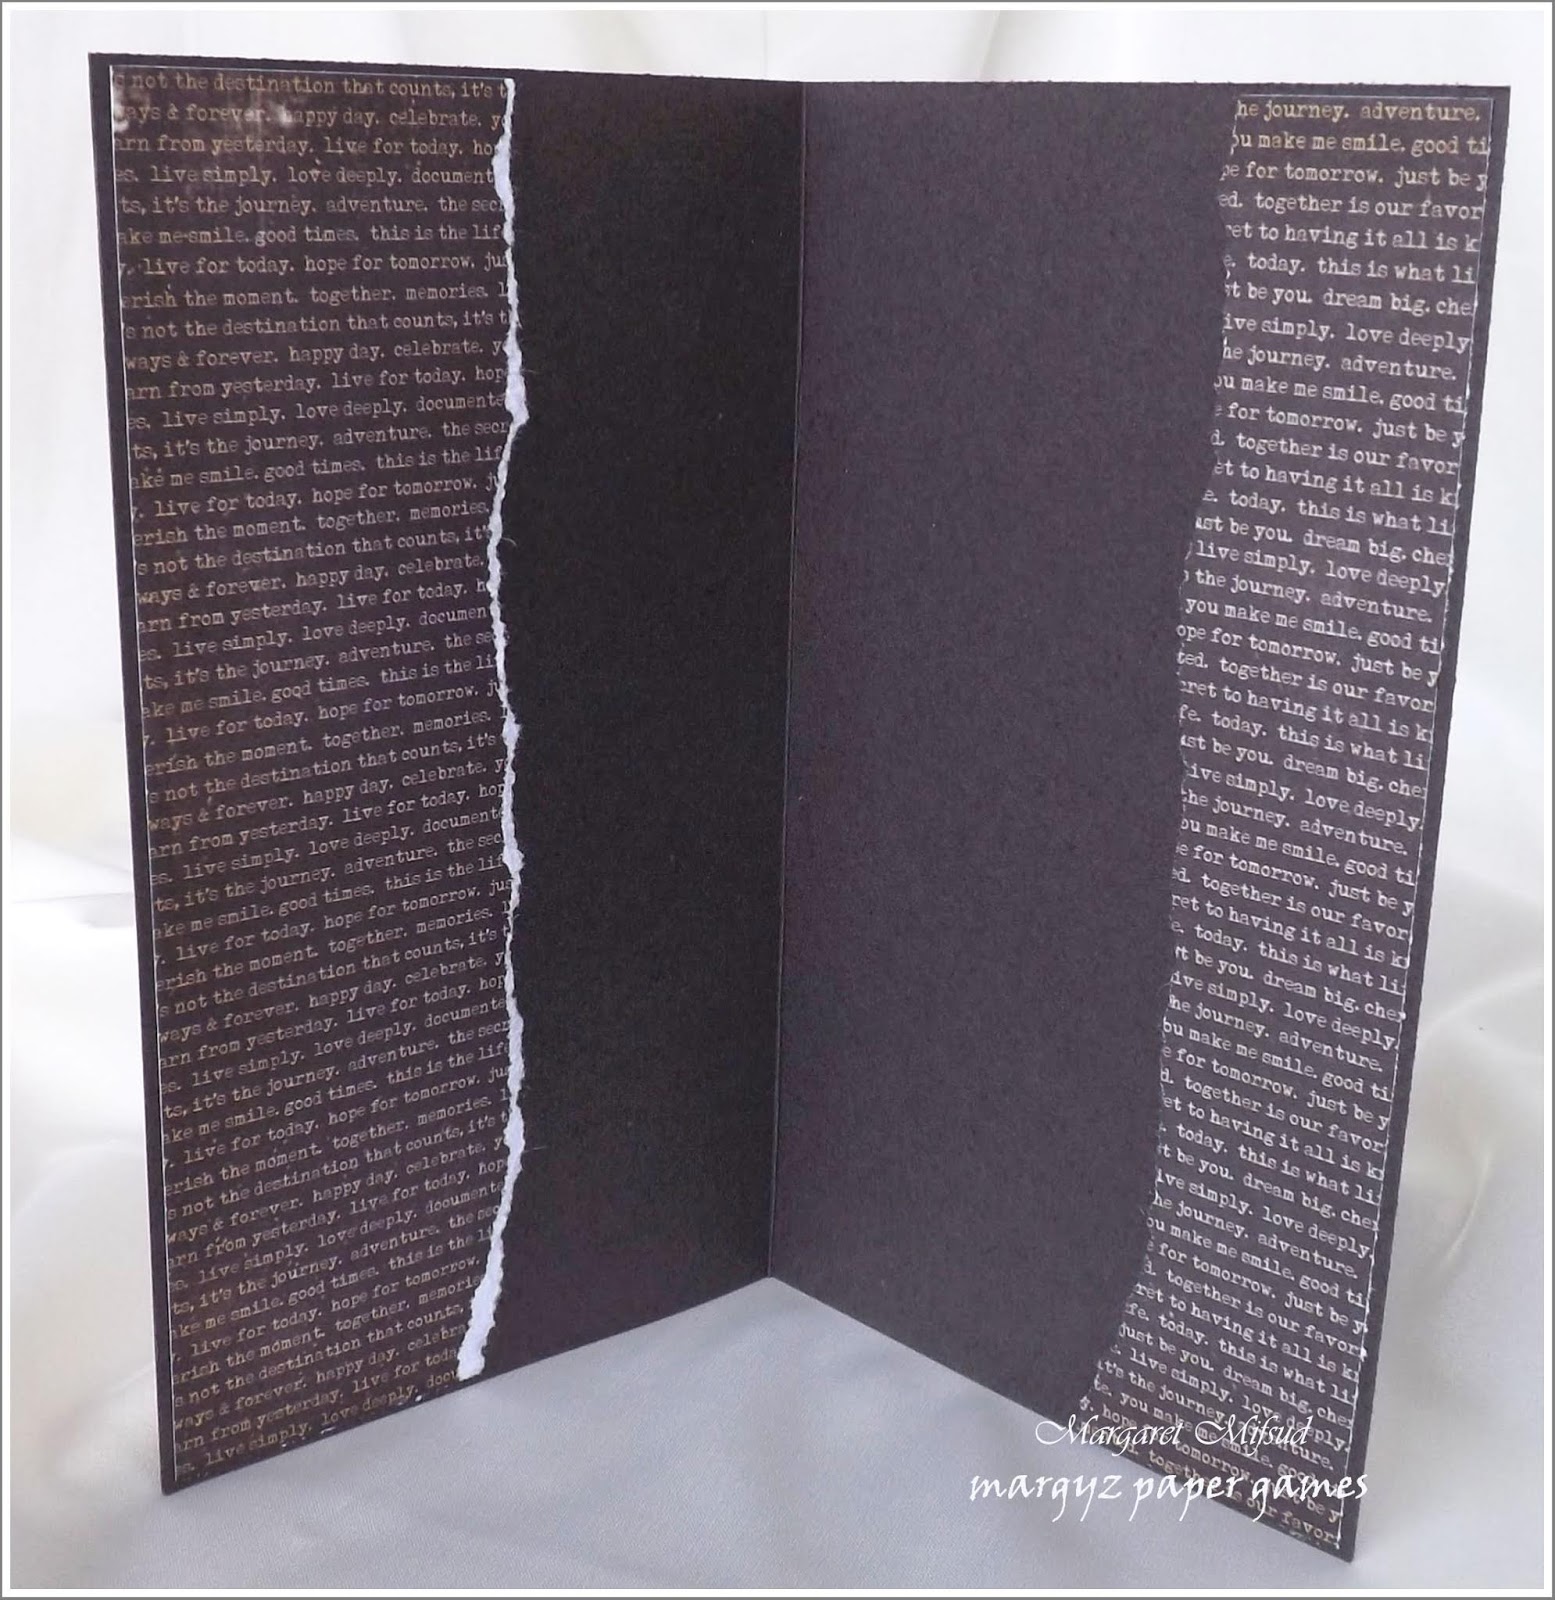
 On the inside cover, I added strips of washi tape and a quote tag by Kaisercraft.
I do love making books and I started this particular one a long, long time ago!! Months ago in fact!! Yes, I know!! Why is it taking such a long time?? I can't even remember exactly when I started it. I do know I made the cover before I was lucky enough to win Eileen Hull's Journal Die from Anne Redfern so this cover was made late last year!!!
When I first made this journal it was quite basic. I had some leftover papers from a couple of A4 Prima pads that had been sitting in my stash for ages and decided to use them up. So, I made the cover from cardstock and then 4 signatures from the papers. I sewed the signatures to the spine and then the whole thing was left on a shelf until about a month ago. When I picked it up again, I was not happy with it, so I actually took it apart and made a heap of changes. Now, because of all the additions, it will only have two signatures so I have another two with which I can make another book!! Win! Win!
In this post I will show you the cover and the first signature. I should warn you though, there are a lot of photos.
This is the original cover I created. I was quite happy with it so didn't change it at all.


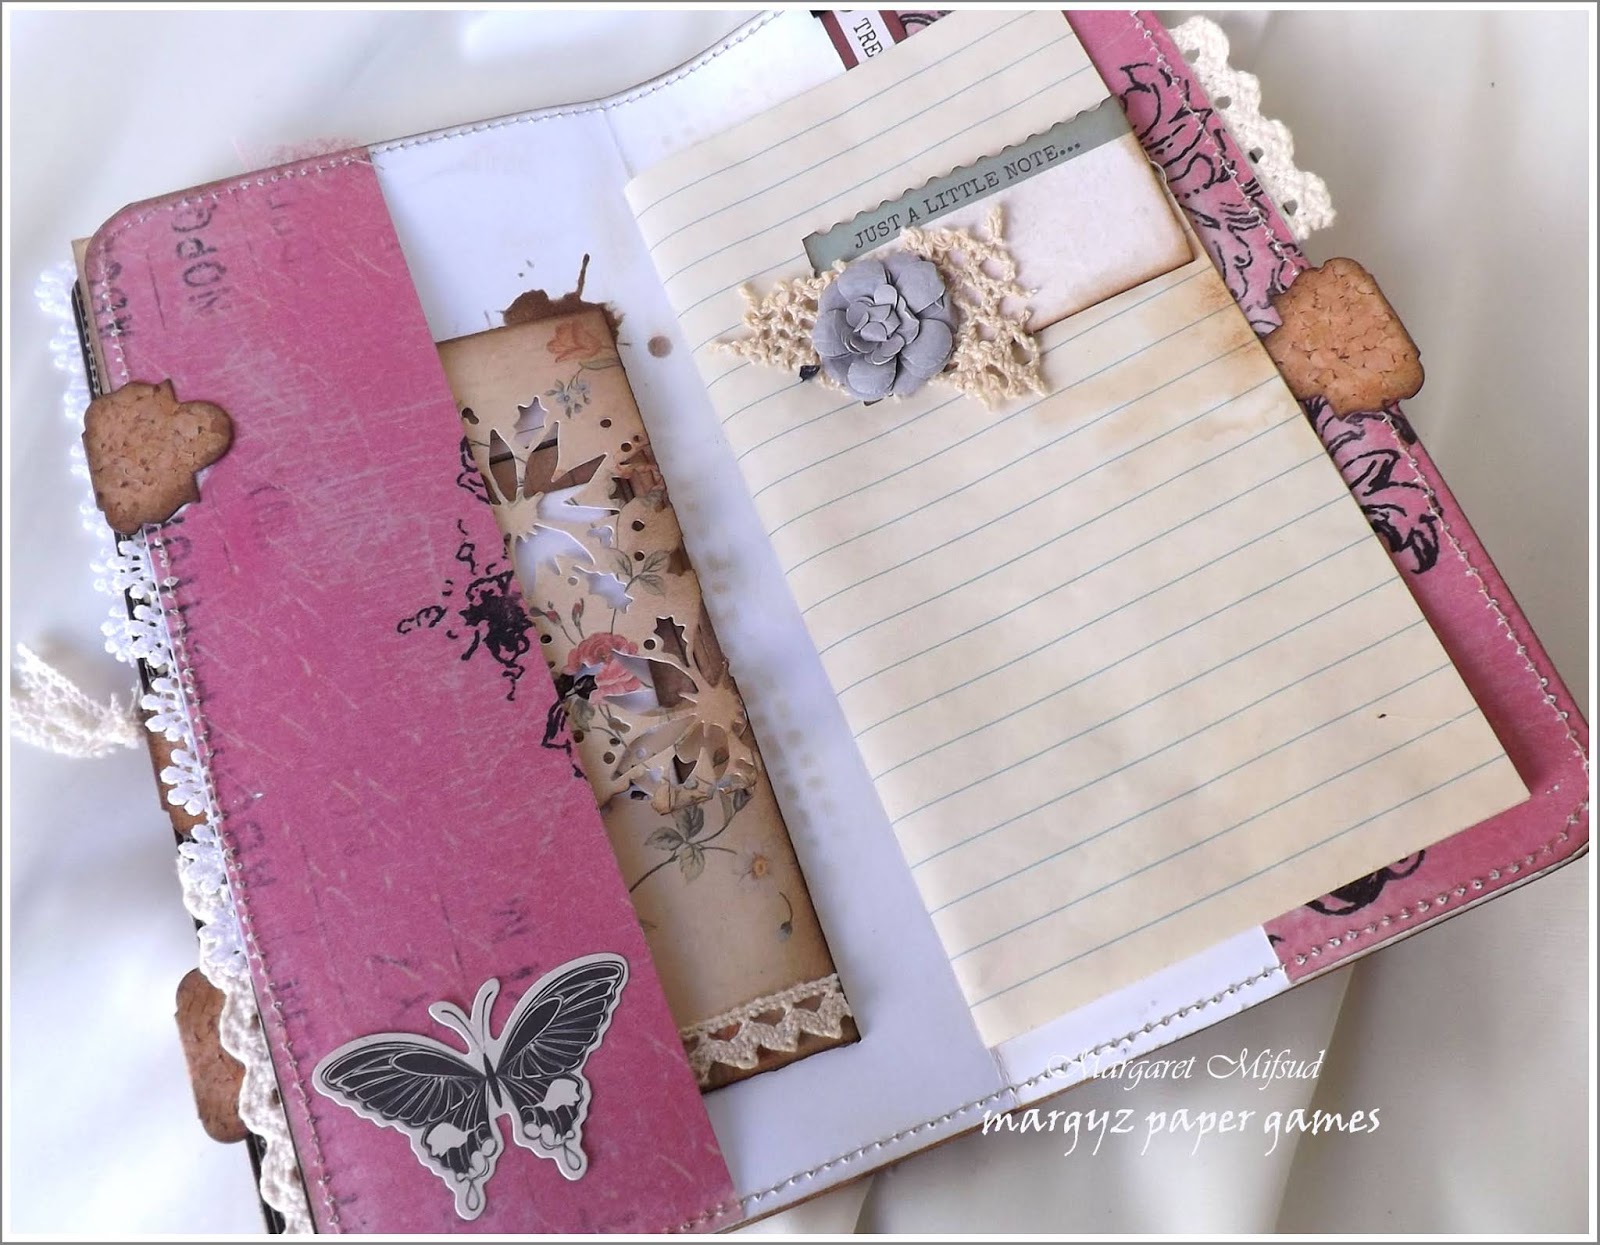
The flower is attached to an altered paper clip. All of the Prima papers have been sewn around the edges. I have also used a stitches stamp here and there.


A great spot for some secret journaling underneath the tag. Think I might pop some lined paper there just to make it easier.


The next page has another pocket. This one is edged with a bit of lace. You will see that there are also small bits of lace added to the sides of some of the pages. More tea stained paper with that sweet little stencil.

The page on the left folds out and the paper on the right is tea stained tracing paper. I love how the staining makes it more transparent.
 Just the papers here with a tiny bit of washi tape added on the right side.
 Side pocket on the left with a little envelope inside and on the right you can see another of my altered paper clips.
 I will show this envelope in more detail in another post ..


Washi tape and a heart on the left and more of the tracing paper on the right.


I'm not really sure if I am done with this signature yet. While I was flicking through it taking these photos, I thought of a few more things I can do and, as it's not attached to the spine yet, I can still make some changes. We shall see.
When this book finally does get finished it will be used for collaging some lovely quotes I have found.
Thank you so much for stopping by and I hope you will come back to join me on the next leg of my Junk Journal Journey!! Goodness only knows when that will be, LOL!!
Enjoy the rest of your day!!
Take care and God Bless.