Hello everyone and welcome to my blog.
I was so thrilled and excited when I was contacted by Laura Bomber and told that Astrid Maclean wanted me to be the Guest Designer for her Challenge last month at Our Creative Corner. I never imagined that something like this would happen to little old me!!! Thank you so much ladies you have made me feel very blessed.
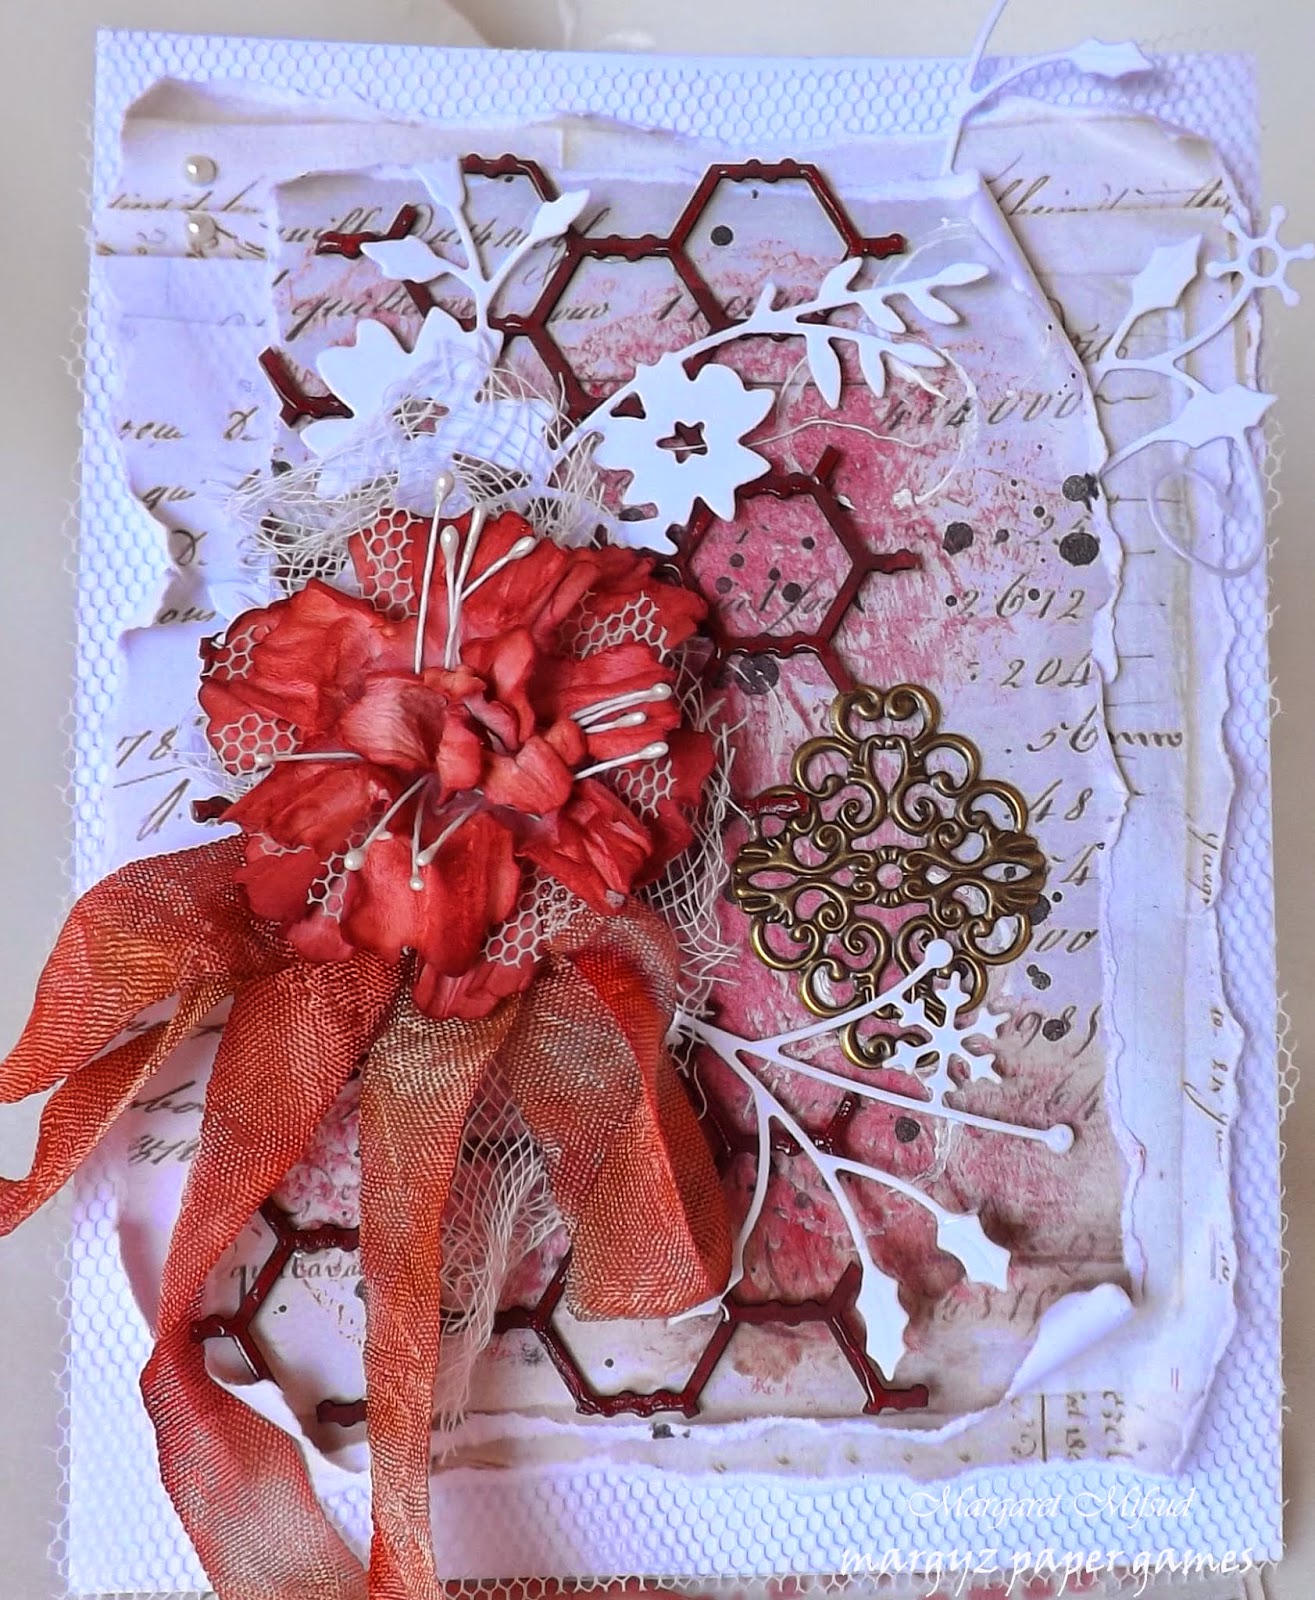
The July Challenge was to use handmade flowers and hand dyed ribbon on a project. I wasn't sure at first what I should create but, as I am primarily a card maker, that is what I eventually decided to do and here is what I came up with.

The base is white cardstock and I used some tulle to soften the look. I then used two layers of paper from
Meg's Garden's 'Correspondence' collection, tore them to size and then randomly curled the edges.
Did a little background work with 'Fired Brick' Distress Ink. I simply wet a paper towel with the ink and then pounced it on the paper, I love the textured look you get from this technique. Added some circles with a bottle top dipped in gesso and created some splats with Black Soot D.I. I used two die cuts on this card, both of them are from Memory Box. The 'Snowflake Spray' was cut into two pieces, one of which I placed between the paper layers, and the other piece was used as part of the flower cluster along with the 'Honey Blossom Sprig'.
The 'Chicken Barbed Wire' Chipboard piece is from
2Crafty Chipboard. I coloured it with red Acrylic paint and then randomly swiped it with some Glossy Accents and some Crackle Accents.

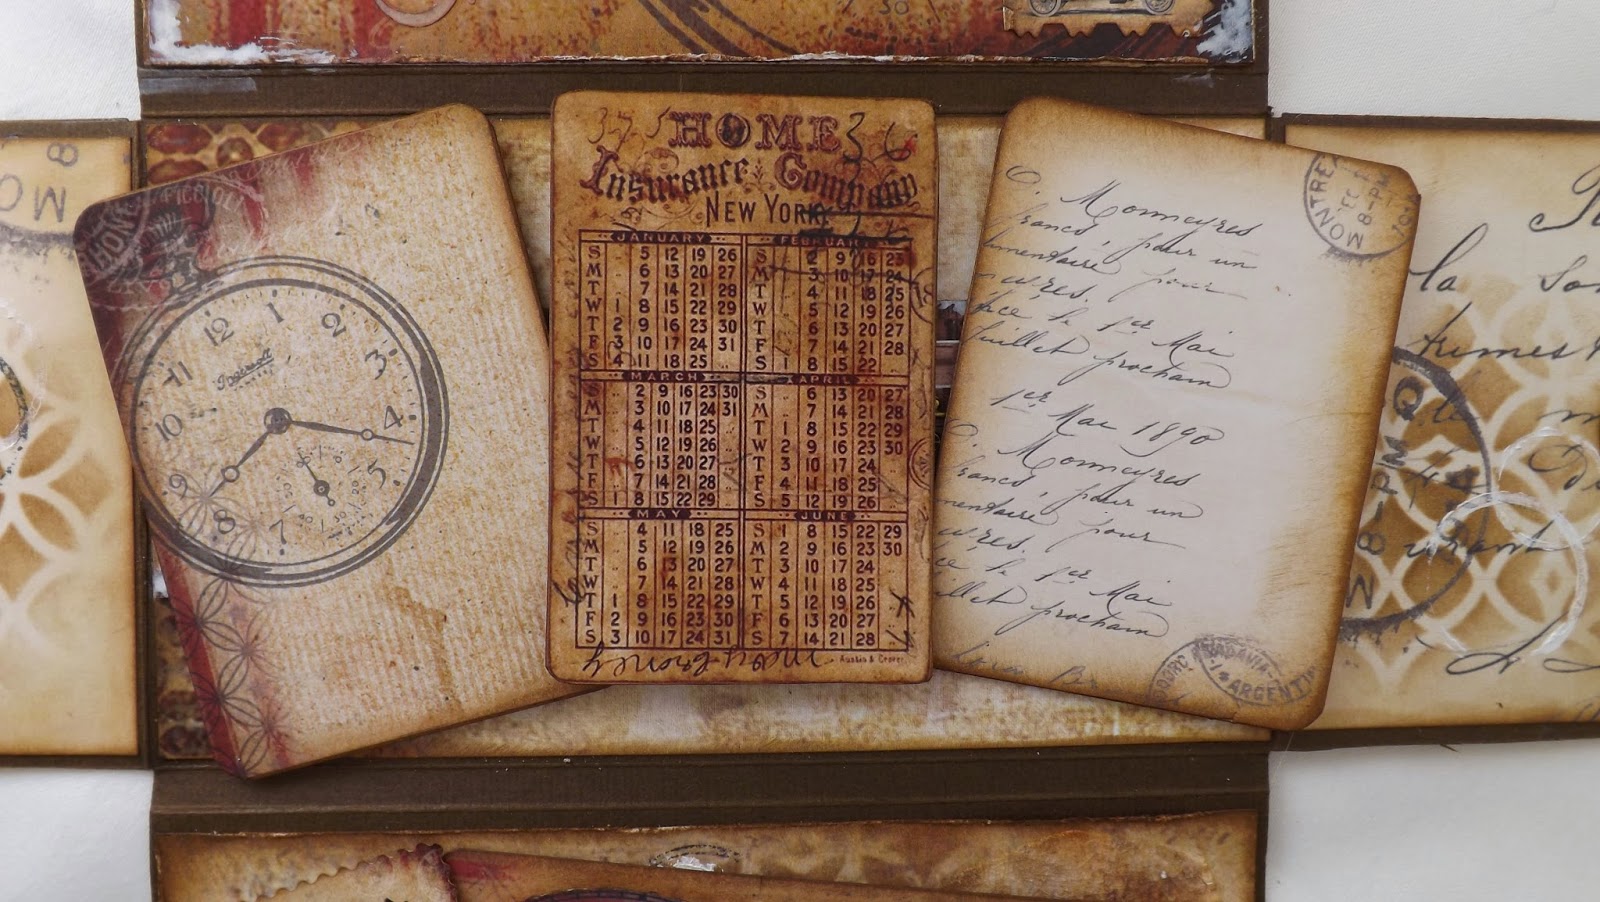
This is actually an Easel Card and to anchor the 'Easel' I used a die cut piece from Spellbinder's 'Opulent Ovals'. The stamp is from Kaisercraft and was stamped with Memento's Tuxedo Black. The edges of the oval were inked with Fired Brick D.I.
Used Tim Holtz's 'Burlap' stencil and Fired Brick to decorate the inside and added some texture with homemade texture paste and Urban Artist's 'Mini Hummingbird' stencil.
With all the incidentals out of the way, we came to the important part of this project. The handmade flowers and the hand dyed ribbon.
It's been quite a long time since I made a paper flower and I had forgotten how much I enjoyed doing it. This is a style of flower I discovered a few years ago but, unfortunately I do not remember where. There are so many tutorials out there now and, although I did find quite a number which use the same method of crinkling the petals I simply couldn't find the one that used the tulle and the stamens as well.
So, I thought I would do a little step by step.
You need two large flower shapes and one smaller one. It doesn't really matter what style of flower shape you use as long as the petals are cut fairly deep. You also need at least 6 stamens and a piece of tulle.
You can either colour your petals as I did or simply use designer paper to suit your project.
Spray the petals with water and then, using the end of a paintbrush or something similar, curl one of the petals around the handle of the brush. Hold it securely with your thumb and forefinger and then pinch it with your other hand to get the lengthwise creases.
Do this with all the petals and then curl the whole piece around the bottom of the brush.
This is what they should look like. The smaller flower can simply be rolled into a little ball.
Let them dry completely and then, very carefully, open them up. If you've coloured your flowers, you may wish to ink the edges at this stage because some of the colour would have leeched out when you sprayed them with water.
Cut a circle out of your piece of tulle slightly smaller than the large petals and then snip out some petal shapes. It doesn't matter if you end up with more petals than actual the flower itself. Once assembled, you won't notice the anomaly.
Time to assemble the flower. Put a fairly large blob of glue (I used Glossy Accents) in the centre of one of the large flower shapes and attach the tulle flower. Then add the second paper flower, staggering the petals, and making sure the tulle is visible. Press down firmly in the centre until the three layers stick together.
For the stamens, put two of them together and bend them in half. I then slightly twist the bottom together and fold it up slightly to make them a little shorter. You could cut them to length but I find that by folding the bottoms up they are easier to stick down. Put another blob of glue in the centre and arrange the stamens evenly around your flower.
Then it's just a matter of crumpling up the smaller flower until you are happy with it and glueing it down on top of the stamens. Here is the finished flower.
I think it's kinda cute!
For the hand dyed ribbon I used Fired Brick and Walnut Stain Distress Inks. I simply pressed the stamp pads onto my mat, sprayed a little water on it and then dragged the ribbon through it. Crumpled the ribbon up (and, of course, got ink all over my hands, but that's all part of the fun isn't it??) then left it to dry and tied it into a bow.
And here is the full view of my finished card. The smaller flower on the base was made exactly the same as the larger one but, of course, I left out the tulle and the stamens.
I hope you enjoyed my little project and that, perhaps, I have inspired you to go over and take a look at
Our Creative Corner. They have a new challenge each month and there are some lovely prizes to be won.
Thank you again, Laura and Astrid for giving me this amazing opportunity, I thoroughly enjoyed it!!
Thank you so much for visiting and leaving me a little comment.
Take care everyone and God Bless.


