Monday, 16 March 2015

2Crafty March Projects #2

 Hello everyone and welcome.  So glad you stopped by for a visit.
I'm here to share the second part of my March projects for 2Crafty Chipboard.

  "CONCERTINA CARD"
 
  This is the card I created for my Grandson's 18th Birthday.  Being such a special Birthday, it had to be a special card and so I created a concertina card with some pieces from 2Crafty Chipboard's latest release.
 
 
The front of this card looks fairly busy but I just couldn't stop myself from adding all those lovely little chipboard pieces.

2Crafty Chipboard product used

Bubble Clumps
Card Word Circles - Happy Birthday

Dotty Bits
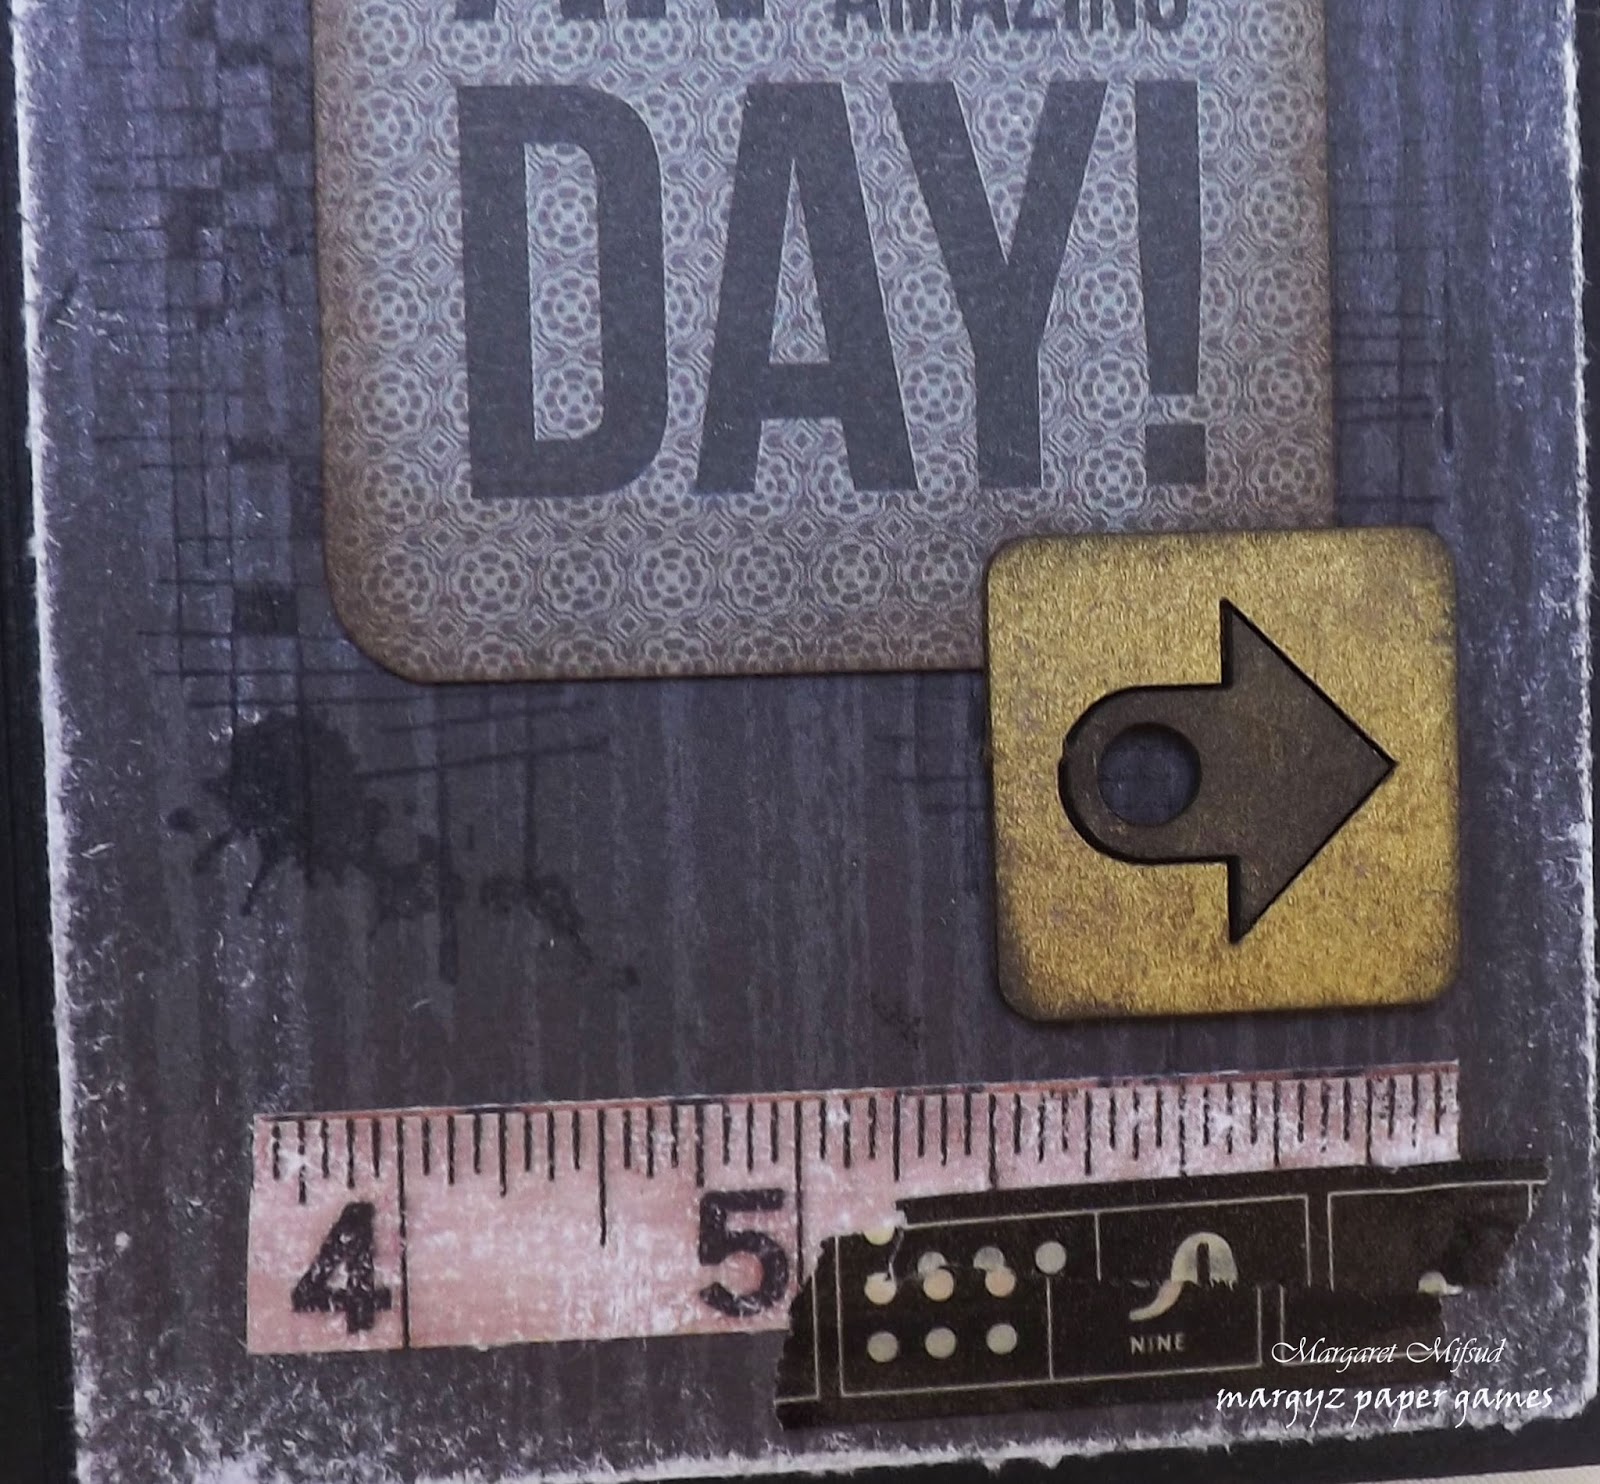
Fast Forward Arrows
Mini Tags
 
The papers used here are from Kaisercraft's 'Hello Today' small Paper Pad.  The small 'Bubble Clump' was coloured with acrylic paints using a dabber.  I love the mottled look you get when using this method.
 
 
  The 'Dotty Bits' tucked in the paper layers at the side were coloured the same as the Bubble Clump but the 'Mini Tag' was inked with Distress Inks and then lightly edged with gold VersaColor.  The chain is from my stash and the charms are from Megs Garden.
 
 
The 'Card Word Circle' was also painted with acrylics and the 'Fast Forward Arrow' was simply inked.   
 
 
  Love those 'Fast Forward Arrows' and used quite a few of them on the inside of the card.
 
 
This one was painted with acrylic paint ...
 
 
... as was this one.  It was also lightly inked with gold.

 
  The outer edge of this arrow was inked with VersaColor gold and the actual arrow itself was coloured with Black Soot Distress Ink.


 Love that crackle!!
            
 
This arrow was also inked with Distress Inks and edged with the VersaColor gold. 


The inside of the card when fully opened.  As you can see it actually holds 4 tags.


The backs of the tags can be used for photos or personal messages.  I won't show the fourth tag as that has my personal message on it.
  
 
  Thank you so much for visiting and I hope you have found some inspiration here.  I urge you to take a look at the fantastic array of chipboard pieces that 2Crafty Chipboard produces, you are bound to find something that you simply have to have!  LOL!!  
HERE is the link.
Why not also take a look at the awesome creations made by the rest of the Team.  
You can find the 2Crafty Blog HERE.
 
  and remember, to find a 2Crafty Stockist near you simply send an email to salesat2crafty@optusnet.com
 
Take care and God Bless.


Friday, 13 March 2015

2Crafty March Projects #1

Hello everyone and welcome to my Blog.  Hope you are having a great day and I'm so glad you popped in for a visit.
It is my turn again over at the 2Crafty Blog and I have two Art Journal pages to share with you. 
  
"DOUBLE ART JOURNAL PAGE FOR SATW"
 
During March, 2Crafty is a major sponsor for Scrap Around the World and the Team from 2Crafty are Guest Designers.  I was so thrilled  to be a part of this Guest Team and, as the post went live yesterday, I am able to show the details of my contribution.  
 
This is my double page ...
 

... and this is the mood board.  I basically just went with the colours, although the Square Collage panel is sort of reflective of the tech drawn robot.


2Crafty Chipboard product used

 Square Collage Panel

 6" Clock Frames

Mini Hearts and Stars


To create the background I lightly coated the pages with some watered down gesso and then glued some strips of paper through the middle.  Once it was dry, I sprayed over it  with 'Peacock Feathers' Distress Spray Stain and created some texture with paste and a stencil.  


Added some stamping and used a strip of gauze, which was coloured with some watered down acrylic paint, as a base for the Square Collage Panel This was randomly coloured with Black Soot Distress Ink. 


Coloured the Clock Frame in the same manner and used it as a frame for the little quote, which was found on the net.


  The stars are from the Mini Hearts and Stars and they were coloured with acrylic paint.  
 
 
'DOUBLE ART JOURNAL PAGE FOR CSI' 
 
2Crafty was also a major sponsor over at CSI in February and I was happy that I was able to be a part of the GDT for Case #156.  This is the double Art Journal page I created.  
 
 
  I actually shared this on my blog when the GDT went live at CSI and, rather than go through it all again here, if you would like to take a closer look, HERE is the link to that post.
 
 
 Thank you so much for taking a look at my little creations and I hope you have found some inspiration here.  I urge you to take a look at the fantastic array of chipboard pieces that 2Crafty Chipboard produces, you are bound to find something that you simply cannot live without!  LOL!!  HERE is the link.  
For more inspiration on how to use your fabulous 2Crafty chipboard, simply visit the 2Crafty Blog HERE.
 
  and remember, to find a 2Crafty Stockist near you simply send an email to salesat2crafty@optusnet.com
 
Thank you so much for visiting and enjoy the rest of your day.
Take care and God Bless.
oxox


Wednesday, 11 March 2015

"A Few Shades of BLue" #2 - Megs Garden

Hello Everyone and welcome to  my blog.

This is part two of this months projects for Megs Garden.
This card uses some of the left over papers from my Butterfly Book Kit as well as some of Meg's gorgeous laces and flowers.
Megs Garden Book Kits are chock full of yummy paper goodies that you can use in so many different ways.   There are beautifully designed papers as well as lots of ephemera and various graphic images which would be suitable to use not just in your Mini Albums but for all of your paper crafting projects.   


I've used several strips left over from when I made my Butterfly Booklet and simply inserted some different laces in between.


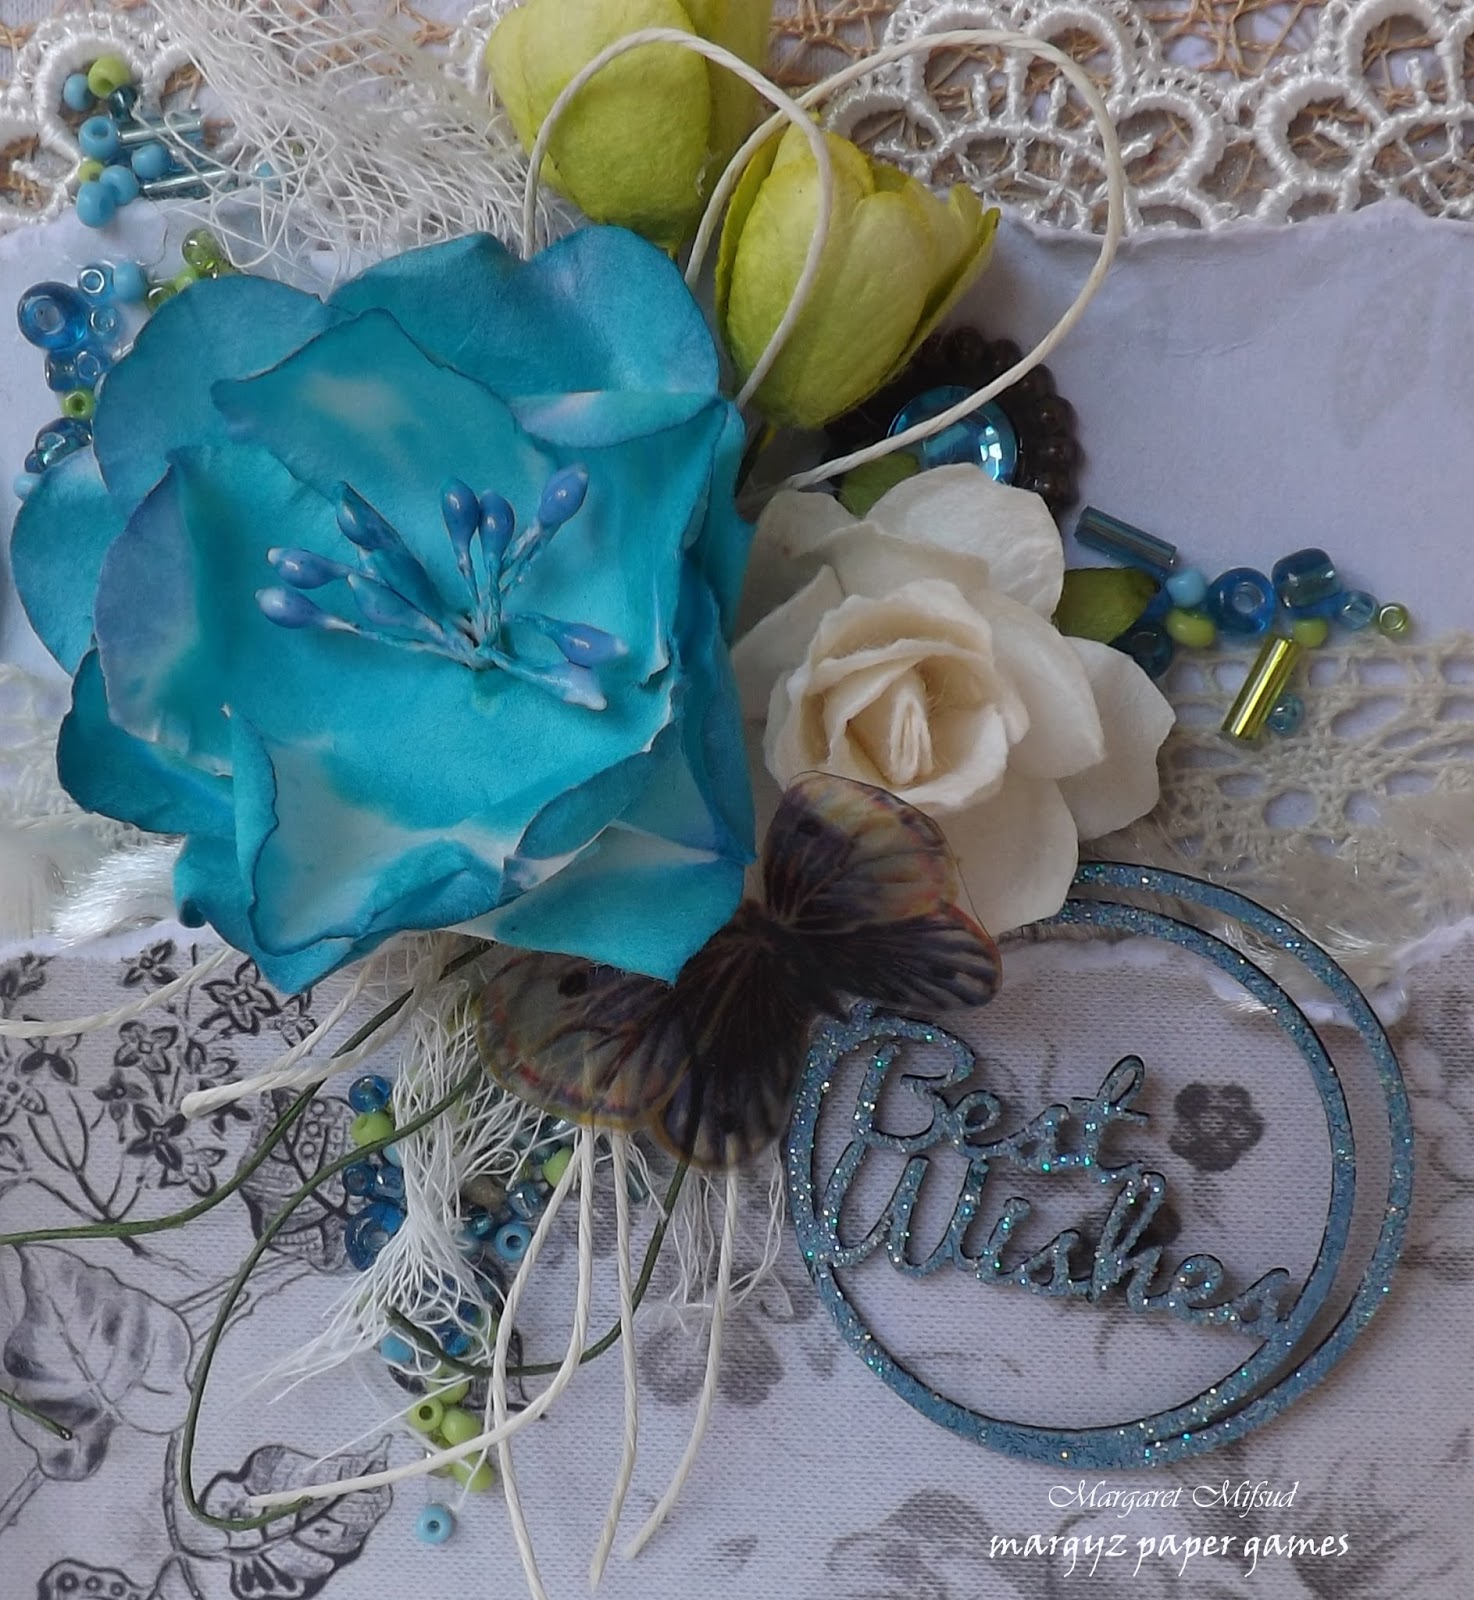
The chippie is a Card Word Circle from 2Crafty Chipboard.  I painted it with Stormy Sky Distress Paint and, while it was still wet, I sprinkled it with clear glitter.


The bright green buds are from Magnolia Ink  but the rest of flowers in this cluster are all from Megs Garden.  The large bloom was mainly white but I have altered it by spraying it with Peacock Feathers Distress Spray Stain.


The inside was decorated with border punched strips from the Book Kit.


Megs Garden Products used

Papers

Ribbon, Lace, Fibre and Beads


Flowers


I hope you have enjoyed this post and that you have gained some inspiration here.  Megs Garden has tons of gorgeous and interesting products in store so why not take a look for yourself. HERE is the link.
Why not also take a stroll around the 'Garden' and look at some of the stunning projects created by the rest of the Team.  HERE is that link.

Thank you so much for visiting and do enjoy the rest of your day!!
Take care and God Bless.
oxox Marg


Monday, 9 March 2015

"A Few Shades of Blue" - Megs Garden #1

Hello everyone and welcome to my blog!  So lovely that you could drop in for a visit.

I'm here to show you part one of  the Design Team projects I created for Megs Garden.  This month I have created some cards to share with you.

The first card is made with papers from the Correspondence Collection.  These papers are stunning!!  With their lovely neutral shading and gorgeous textures they are the perfect background for any colour or embellishment that you may wish to incorporate.

The papers chosen are Mademoiselle Louise and Letter from Tucson and they are from the 12" x 12" sheets. 
  
 
After sewing the two layers together, I created a band across the card with some of the stunning lace that Meg has in the shop.  This became the base for my flower cluster.  Once the lace was glued down I sprayed the left side of the card with 'Peacock Feathers' Distress Spray Stain and also with 'Afraid of the Dark' Glimmermist.


Added some twine (from my stash), some gorgeous blue and green beads from the 'Green Bundle' and a small butterfly from the Transparency sheet.  The lovely little fabric flower was originally Ivory.  I simply sprayed it with Afraid of the Dark Glimmermist and was so pleased with the result.  Not only is it now the perfect colour but it also has a lovely shimmer to it in real life.


The inside was decorated with some Border Punched strips from the Correspondence Mini Paper Pack.


 Instead of adding leaves to my cluster I thought it would be fun to add a couple of metal gears.  A little touch of steampunk amongst the shabby chic.  LOL!!

Megs Garden Products used

Papers


Flowers


Ribbon, Lace and Beads


I hope you like the little card I have created and that you have gained some inspiration here.  Megs Garden has loads of gorgeous and interesting products in store so why not take a look.  You can find the shop HERE
Also, why not take a stroll around the Garden and look at some of the stunning projects created by the rest of the Team.  You can find the Blog HERE.

Thank you so much for visiting and do enjoy the rest of your day!!
Take care and God Bless.
oxox Marg