Monday, 28 September 2020

Crafty Cardmakers Challenge #264 - Shabby Chic

 Hello dear friends.  Welcome to my blog.

The Theme for the new Challenge at Crafty Cardmakers is Shabby Chic and our Host is the lovely Angela!

As is always the case, you may create whatever you wish as long as it fits the Theme.

When I think of shabby chic, aged furniture or furnishings come to mind.   White washed furniture that looks a bit scuffed and distressed, or furnishings that are well washed or slightly worn and torn.  A soft, feminine style with lots of white and a few contrasting pastel colours.   So this is how I styled my card.

The papers, by Kaisercraft, have been torn and distressed and, for a little extra shabbyness, I added a little stamping as well.


A strip of floral lace supports the flower cluster to which I have added die cut leaves and a bit of gauze.

Of course, I couldn't forget my favourite prills and you can also see a sweet little butterfly cabochon.

To finish off, I added a lovely seam binding bow.


Would really love for you to hop on over to the CCM blog to take a peek at the wonderful creations by the rest of the Team.  Hopefully, you will be inspired to join in.

 
Thank you so much for taking the time to visit here and thank you to those who leave me such lovely comments.  Both are very much appreciated. 

Take care, stay safe and God Bless.


Tuesday, 22 September 2020

A Pair of Guy Cards

 Hello dear friends.  Hope your day is going well.

Just a quick post to share a few more of my 'man' cards.  Have quite a few stacked up waiting to be posted and felt it was time I got my finger out and got it done.

There have been quite a few special Birthdays amongst our family and friends this year but, because of the restrictions, we have not been able to join in with the celebrations.  Never the less, I have still made cards for them to let them know we were there in spirit at least.  

The two cards I am showing today are very similar.  I'm afraid I'm, getting a bit lazy with my crafting.  I do still enjoy it but am not quite as enthusiastic about having to come up with something new each time.  Consequently, when I make them now I tend to make a few of the same or, at least, similar design which works well when the people you give them to don't know each other and can't compare.  LOL!

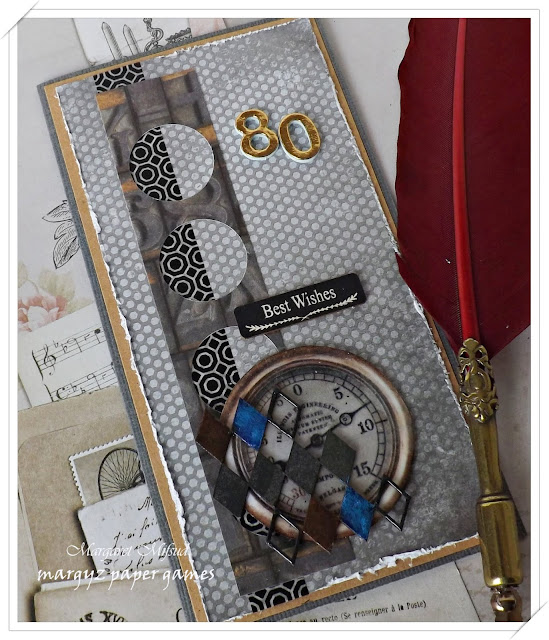
The paper used for the background on both cards is by Kaisercraft and they were, obviously, both made for an 80th Birthday.

Added a strip of washi tape and the waste left when punching out some circles and made a small collage with a free printable gauge and a left over piece of harlequin chipboard.

On this next card I used strips of washi tape, book paper, a left-over piece from a die cut .. 

.. a free printable clock face and a small wooden cogs..


 Easy Peasy, done and dusted.  Just the way I like it!!
 
Thank you so much for taking the time to have a look.  Enjoy the rest of your week.
Take care, stay safe and God Bless.


Monday, 14 September 2020

Crafty Cardmakers Challenge #263 - Use a Recycled Element

 Hello dear friends and welcome.  So pleased you stopped by,

Judy is our Host for the new Challenge at Crafty Cardmakers, and the Theme is to use a Recycled Element in your project.   As always, you may create whatever you wish as long as it follows the Theme.  If it is not obvious, please tell us what it is that you have recycled.


For my project, I have created an album cover out of a recycled box.  

I actually started making this Album cover before I realised that we had a recycling Challenge coming up so, unfortunately, I didn't take any photos right at the very beginning.   I had already attached the spine to the front and back covers when it finally dawned on me that I could use this as my DT contribution.  Duh!!

As you can see, I used the box from our new electric toothbrush.  The covers measure 6" x 6" and the spine is 6" x  1.5".

To attach the spine piece to the covers, I used wet glue and a polyester fabric which is normally used as lining.  It is quite thin but also quite strong and works really well for book binding. 

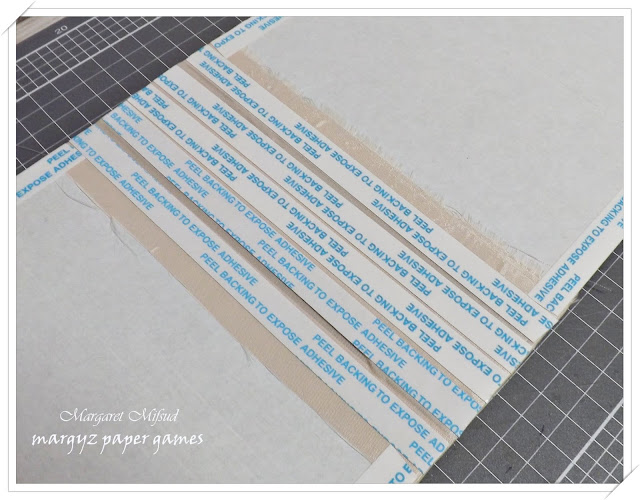
Once the glue was dry, I attached double sided tape to the side that I wanted as the outside of my book.

 
I had to glue two sheets of tea stained paper together to make a piece large enough to fit.  If you look carefully, you can just see the join but it's not really noticeable IRL and it will be covered over when I embellish the cover anyway.
Turned the cover over again, lined it up in the center of the paper and then removed the backing on the double sided tape and glued it down.
I bevilled the corners and then attached double sided tape all around the edge so I could wrap the paper around the cover.

 I always wrap the long sides first.  Not really sure why, but I just prefer doing it that way.

Once the paper was wrapped around the edge, I added the binding strip ..
.. and then attached more tea stained paper to the inside covers.


This is still a work in progress.  I have completed a few pages but it still has some way to go before the album is finished.  

Now it is your turn.  If you pop over to the CCM Blog you will see lots of wonderful inspiration from the rest of the Team for your own recycled project.  Would love to see what you create.
 
Crafty Cardmakers Challenge #263 - Use a Recycled Element.
 
Thank you so much for your visit and enjoy the rest of your day!
 
Take care, stay safe and God Bless.
oxox  Marg