Tuesday, 27 August 2013

White and One???

Hello everyone and welcome to my blog.
Today I'd like to show you another card.   This is for a close friend's birthday.
It's a little different for me because I normally would use more colour but this, basically, is white with a few different shades of green. 
The papers I've used are from Melissa Francis and Kaisercraft.  I have used a distress tool on the edges but I haven't inked them.     The only inking on this card is on the chipboard frame.

The flowers are from Kaisercraft.  I dry brushed the large rose with some white gesso and placed  the cluster on top of a small piece of gauze.  The die-cut is a Die-Namics Fancy Flourish and the leaves were cut with my Silhouette Portrait and I've shaped them a little and then doodled around the edges.

 Here you can see a close-up of the chipboard frame.  This is Make'it'Crafty's Ornate Square Frame and it is lightly coloured with VersaMagic Cloud White and then with VersaColor Laurel Leaf.  
I love this little frame, it is really delicate.  I've had it in my stash for quite a while and I'm really pleased I finally found an opportunity to use it.
The vintage brad is from Creative Charms. 

The die-cut below is  the Honey Bloom Sprig from Memory Box.  Again, I've doodled around the edges for a little more impact.

You can see the layers a bit more clearly here/

For the inside I've used some paper from my stash and added a couple of strips of the Kaisercraft paper to decorate.   The sentiment was printed using Word Art.


There you have it my lovelies.   This card does look a bit pale but, surprisingly, I quite like it,  hope you do too.

A footnote to my last post where I showed the card I made for my first challenge.  Unfortunately it didn't get anywhere and I am a little disappointed but, it was only my first challenge  and I will try again. 

Thank you so much for stopping by and I do hope you will visit again.

Take care and God Bless.
oxox Marg

Wednesday, 21 August 2013

My First Challenge !!!

Hello everyone and a very warm welcome to my blog and a special welcome to my new followers.  So pleased you've decided to join me.  
I have a card to share with you. 
Whilst I was making the box I showed in my last post I was also making a few cards that I need for some upcoming Birthdays.

I've been trying to incorporate lots of layers on my cards lately.   In looking at other peoples blogs, the cards I loved the most all had lots of layering on them.  Even the Scrapbook pages I like best all have lots of layers.  So with this card I went all out.  There's about 6 or 7 layers on this card and that's without counting the flower and leaves.  

 This card is actually a bit of a steal from Heather Jacob.   She made the most gorgeous card (you can find it HERE) and when I saw it with all the layers and all the die cuts I just had to try it for myself.    Thank you so much Heather for the inspiration and the design. 
The papers I've used are from Kaisercraft's Miss Empire and Take Note Collections.    I've also used some brown cardstock in between the different die cuts for contrast.   The Dies used are Couture Creations Scalloped Oval, a Marianne Creatables Frame, Die-namics Decorative Doily Duo and the Honey Blossom Sprig from Memory Box.  I've also used a Wooden Flourish Border from Kaisercraft. 

The wooden heart  is also from Kaisercraft.  I left the wooden flourishes raw with just a little bit of Walnut Stain Distress Ink on the edges.  I also used the Mini Circle Explosion Template from The Crafters Workshop and the Walnut Stain to add a little more interest to the paper.  The flower is from Prima and the leaves were cut with my Silhouette Portrait.

I do usually decorate the inside of my cards but I don't think I've every shown that in my posts because, when I print the sentiment I also print the name of the person I'm giving it to.  In this case though, I haven't yet decided who is getting this card so I can show you the inside.
The paper I've used for the inside came from my stash.  I've had it for quite some time and have no idea of where it's from.  The decorative strip on the side is from the Miss Empire range.
The sentiment was printed through Word Art.


 I'm actually going to enter this card into the ABC Challenge.  The criteria for their current challenge is lots of layers so I thought this would be ideal.  A bit nervous here, I've never entered a challenge before so I hope I can get the Linky thing right.    So, please wish me luck.

Thank you so much for visiting today.  I hope you enjoy the rest of the week.
Take care and God Bless.
oxox Marg

Sunday, 18 August 2013

Off the page

Hello everyone and a warm welcome to my blog.  I hope the weather is better wherever you are because Adelaide is miserable at the moment.  Lots of rain and very cold, well, cold for here anyway.
I have a tidy box I'd like to share with you.  It has taken me a few weeks to make this because I started from scratch.  The box is made from pasteboard and I've used my little joining strips to put it together.  My own design and everything!!  Yeah, I know, you're saying to yourself  'Sooooo? Big deal!'  Well for me it is a bit of a big deal,  I've never made anything this big before and, luckily, I'm quite pleased with the result.

 My reason for making this box is to hold remote controls and the bits and pieces my hubby and I have sitting beside us when we're watching TV.  We had a little basket before and it was kinda overflowing.
 
 Having never done this before, I made quite a few mistakes and had to fudge a few things but, hopefully, they don't show.
 The papers I've used to cover this are from G45's Communique Collection.  I love these papers, they are totally gorgeous and I wish I could get more but they've been discontinued for a while now  and it's getting quite hard to lay my hands on them.  I did use TCW's reversed chicken wire template and a Versa Magic  stamp pad in Midnight Black just to add a little more interest.
 The drawer pulls are from Kaisercraft.
The most time consuming bit on this box was the punched border strips I used to edge it with.  They took quite a while to make and there were so many of them!!!!!  But I must admit I love how they look.
The chippies and wooden flourishes were coloured with Shabby Shutters Distress Ink and Cyan Versa Color and then I covered them with Glossy Accents.  I saw a similar colour combination on a layout made by Heather Jacob.    She is an amazing artist and you can find her blog HERE.  I loved the colour combo so decided to try it out.  She actually used a turquoise Distress Ink (I think) instead of the Versa  Color but I didn't have that and she also used a clear crackle on hers but I decided to just use the glossy coating instead.  I love how it looks!!

The blue colour doesn't show up as well on the wooden flourishes but I still like them too.  I'm not sure where the above chippy is from but the two wooden flourishes are from Kaisercraft.  I've used the Ornate Plate and the Fancy Door Knocker.
 I've placed some vintage brads on both these flourishes.  Another idea I got from Heather.   I actually had the great pleasure of going craft shopping with her and she recommended a few things to me that I might never have bought but which I absolutely love!!  Thank you Heather, love you girl!!
 
I didn't want anything too 3 dimensional on the sides so I used some G45 and Kaisercraft tags and labels and arranged them in and around some chipboard frames.  These little frames are Little Birdie chippies and I got them from 'Cheap as Chips'.

 
This chippie is a Mini Scroll from Dusty Attic.  There is one on each side of the box coloured in the same way.

 The flowers are a mix of Kaisercraft, Prima and Magnolia Ink and I made them into a vine so that they could more easily be spread across the front.  


 I used Matisse Gel Medium to glue all the papers down and the edges were inked with Walnut Stain Distress Ink ... and here is the box on the coffee table  and in use.  Puzzle books, remote controls, pens, pencils and all sorts of other bits and pieces all neat and tidy and there's room for more!! 

 I hope you like my coffee table tidy box.  It took a while to do but I really enjoyed making it, although, if I ever have to make another, I'll have a better idea of how to go about it because of all the mistakes I made with this one.  hehe!!

Thank you so much for visiting.  I do hope you enjoy the remainder of your day.
Take care and God Bless.
oxox Marg

Sunday, 4 August 2013

A 'Slightly' Grungy Anniversary Card

Hello everyone and a very warm welcome to my blog.
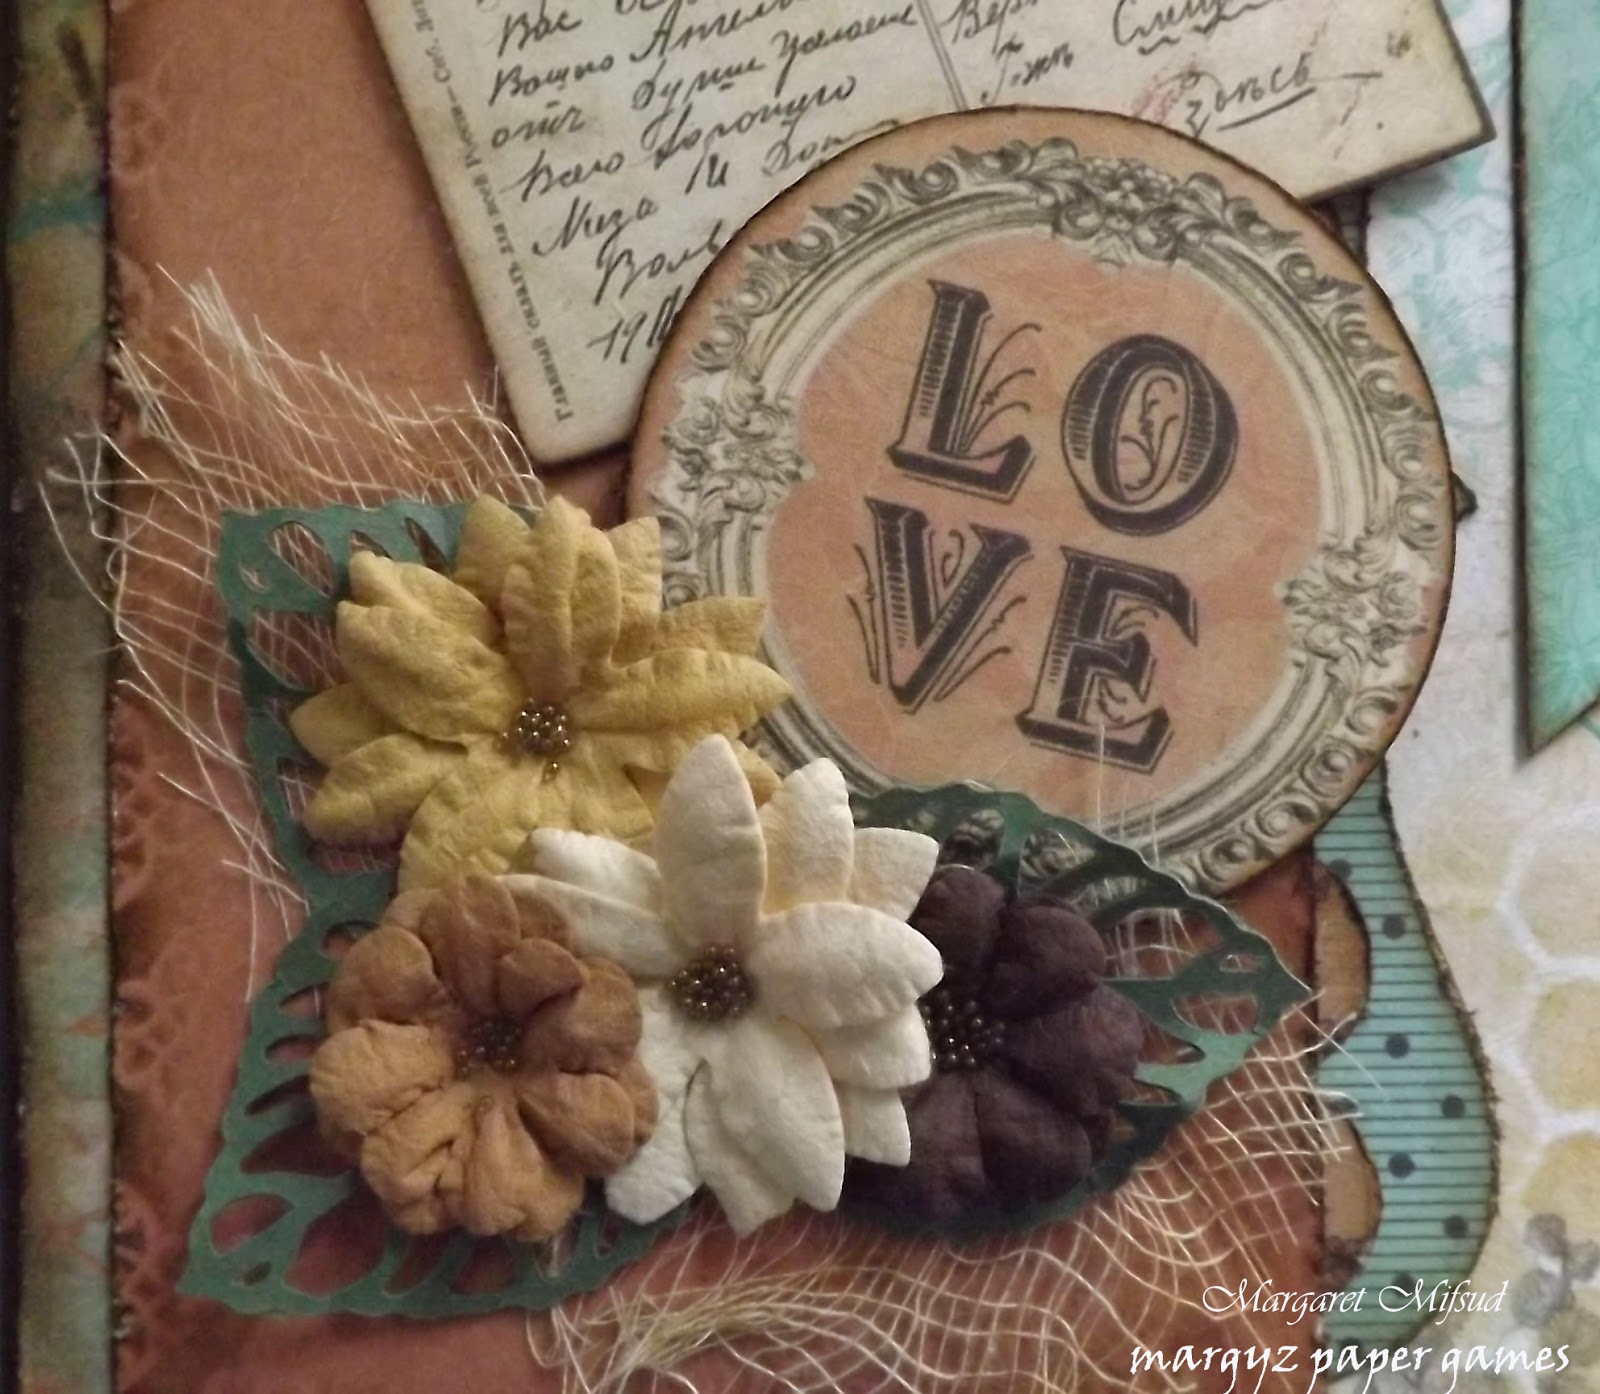
I'm back to share another card with you.  This one is an Anniversary card and it's a little bit different to what I usually do, and yet, it's the same.  Is that confusing?  Hell, yeah!!!  hehe.
 The papers I've used are from Kaisercraft  (surprise!! surprise!!)  I love their 6 x 6 Pads, they are perfect for cards.  Anyway, these papers are from their Periwinkle Collection.  
 Used a chicken wire template and Tea Dye Distress Ink for a bit of interest on the front.
 Being an Anniversary Card I didn't want it to be overtly feminine, I mean, it's going to a guy too, right?  So it should be suitable for both male and female, although I guess the female side of the partnership is usually the one more interested in looking at the cards they receive.  
Cut some banners from the paper and added a small wooden flourish which is also from Kaisercraft.  Coloured it with the Walnut Stain and, after cutting off the prongs, added a small K'craft brad to the top of it. 
Anyway, I did my usual distressing with the distressing tool and inked the edges with Walnut Stain Distress Ink.   The flowers came from my stash and the die-cut is from the paper collection.  The leaves were cut with my Silhouette Portrait and I layered the cluster on a small piece of gauze which was coloured with Tea Dye Distress Ink.
I cannot for the life of me remember where the little postcard is from  (old age, says my hubby, and he's probably right:):)  )  Both the die-cut and the postcard were mounted on some pasteboard to give them more dimension.
So, you're wondering why is this card different?  Well, really, the only difference is that I've made it a bit more grungy than I normally would for a feminine card.  Not sure if it works.  Perhaps I should have made it more grungy still.  I do think  that I should have inked or gessoed the flowers a bit, but it's too late now as it's already been sent off.
In most of their paper pads, Kaisercraft includes some papers that have heat embossing on them, and when they are inked they have this gorgeous resist as you can see around the edge of the paper above.  I must use these more often because I really like that effect.
So, there you have it.  My grungy Anniversary Card.  
Not one hundred percent sure of this one, would love to know what you think.

Thank you so much for stopping by I really appreciate it.
Take care and God Bless.
oxox Marg